RV Roof Coatings
RV ROOF COATINGS IN Branch County, MI
Acrylic roof coating covers only about 125 square feet per gallon in a single pass, and half that across the two coats manufacturers actually require. Meier RV Repair LLC applies RV roof coatings in Coldwater and across Branch County, MI, washing, activating, and rolling each layer out to full thickness on structurally sound membranes. Scheduling starts on our contact page.
SHADE THE MEMBRANE BEFORE THE SUN EATS IT.
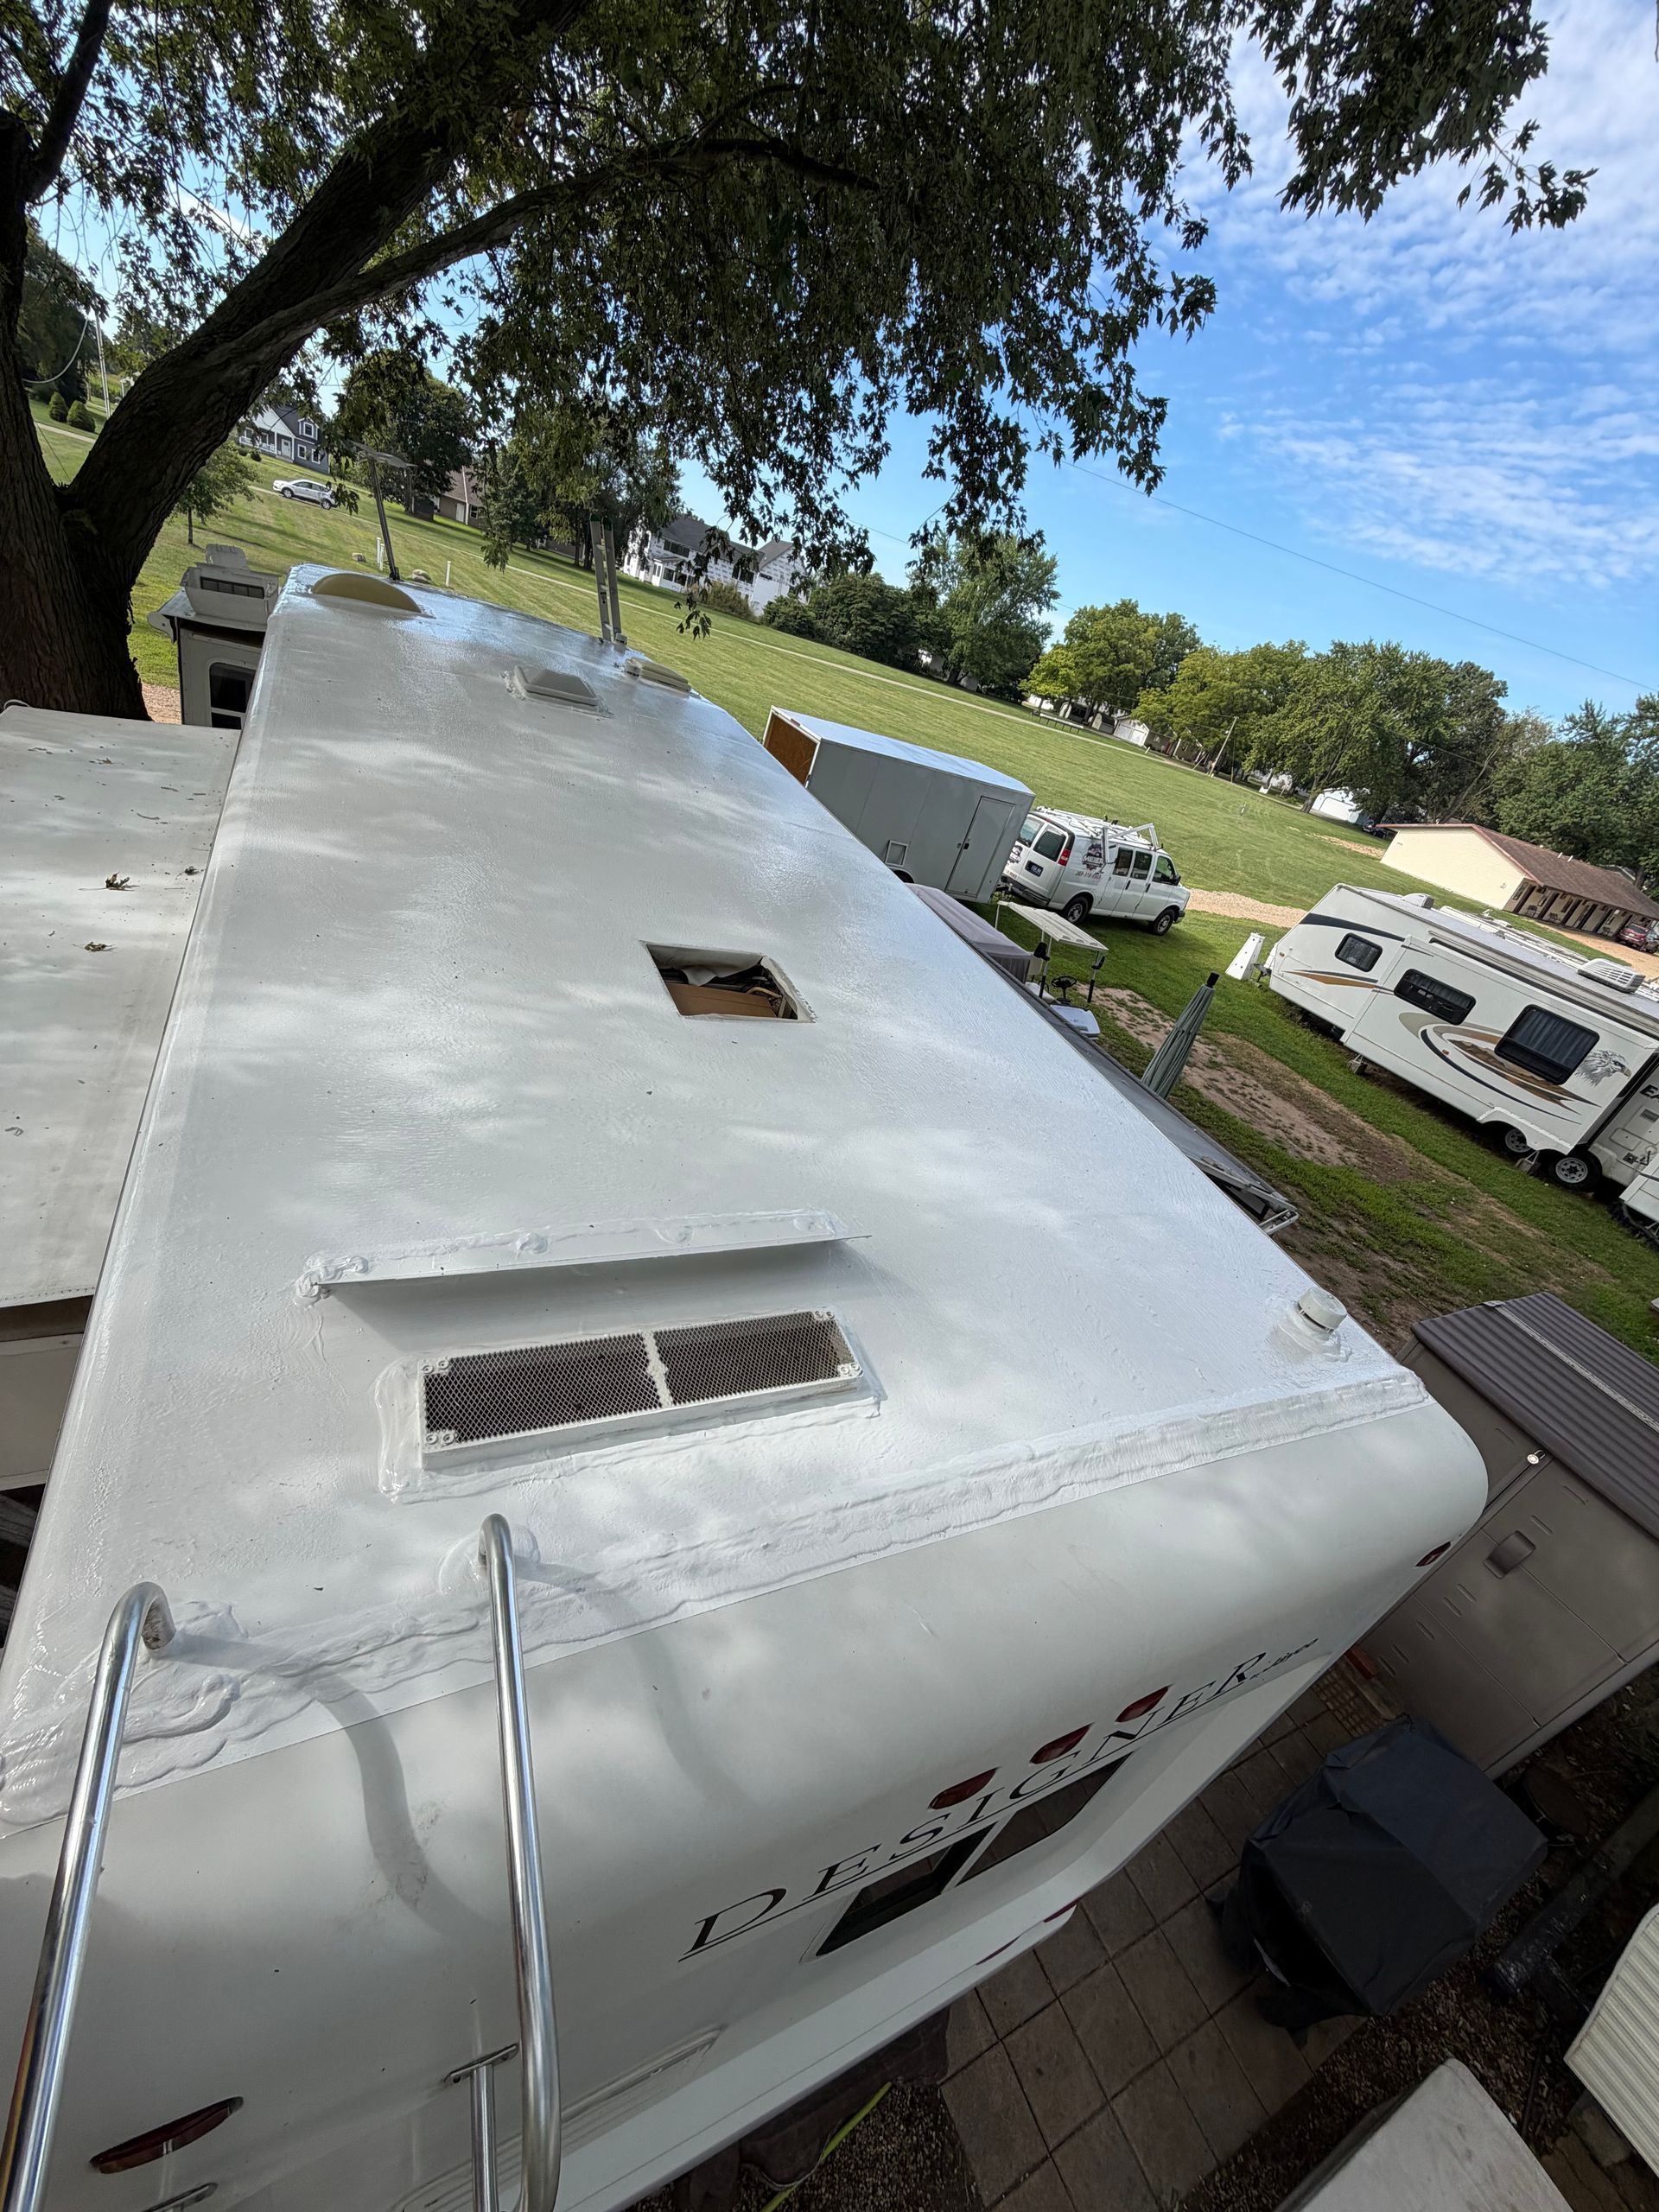
Rubber roofing does not fail all at once. It oxidizes, chalks, and thins under ultraviolet exposure over a period of years, leaving the white residue that streaks down your sidewalls after every rain. A coating restores a reflective, flexible surface over that aging membrane, slows the process considerably, and buys back some of the protection the sun has taken off the top.
What it will not do is repair a roof that is already compromised. We inspect first and tell you honestly whether coating is the right money to spend on your rig.
✓ Honest assessment before any product is opened
✓ Cleaning and adhesion prep included, never skipped
✓ Applied at the manufacturer specified film thickness
✓ Correct product matched to your membrane
RV ROOF COATINGS
REFLECTIVE WHITE BEATS CHALKY GRAY EVERY SUMMER.
A fresh white acrylic surface reflects most of the solar energy that hits it, and that reflectance drops as the coating weathers and holds dirt. The practical result inside is a cooler ceiling, a rooftop air conditioner that cycles less on an 82 degree July afternoon, and a membrane that ages more slowly underneath. Coating is maintenance rather than repair, and it works best on a roof that is still structurally sound.
OUR COATING SEASON RUNS APRIL THROUGH OCTOBER.
Roof coatings need a dry surface, temperatures of 50 degrees and rising, and a window of 24 to 48 hours without rain, dew, or freezing. In Branch County, MI, that reliably means late spring through early fall, and it is why we book coating work around the forecast rather than the calendar. Applied cold or rained on early, a coating cures unevenly and cracks within a season.
COATINGS FAIL FOR REASONS WE ALREADY KNOW.
Nearly every failed coating we are asked to strip comes down to the same three causes: it went over a dirty roof, it went on too thin, or it went over silicone that nothing bonds to. In 10 years of RV work we have watched all three play out. That is why our prep takes longer than our application does, and why we will tell you when a coating is not the answer.
WHAT A COATING CHANGES
A COOLER INTERIOR
Reflective white pushes solar heat back off the roof instead of letting it soak through the ceiling. The air conditioner works less, the interior stays livable, and the whole rig is easier to cool down.
SLOWER MEMBRANE AGING
The coating takes the ultraviolet punishment that would otherwise fall on aging rubber. That protection buys years on a membrane that is sound but has started to chalk and thin.
AN END TO BLACK STREAKS
Oxidized rubber washes chalky residue down the sidewalls every time it rains, and it does not scrub off easily. A sealed surface stops the streaking at the source rather than hiding it.
SEALED MICRO CRACKS
Fine surface crazing across an older membrane closes under a properly applied coating before it can open into a real leak path. It is far cheaper than waiting for water to find one.
A UNIFORM SURFACE
Years of patching leaves a roof looking like a quilt of mismatched repairs. A full coating unifies the surface, which makes future inspections faster and any new problem far easier to spot.
MORE TIME TO PLAN
Coating a sound roof buys breathing room to budget for replacement on your own schedule instead of the weather. That timing choice is worth as much as the material itself.
WHAT WE COAT
OUR RV ROOF COATING WORK
Application is the last 20 percent of a coating job. Everything before it decides whether the finish lasts a decade or peels in a year. Here is what a coating visit involves at our shop.
INSPECTION
Roof Condition Assessment
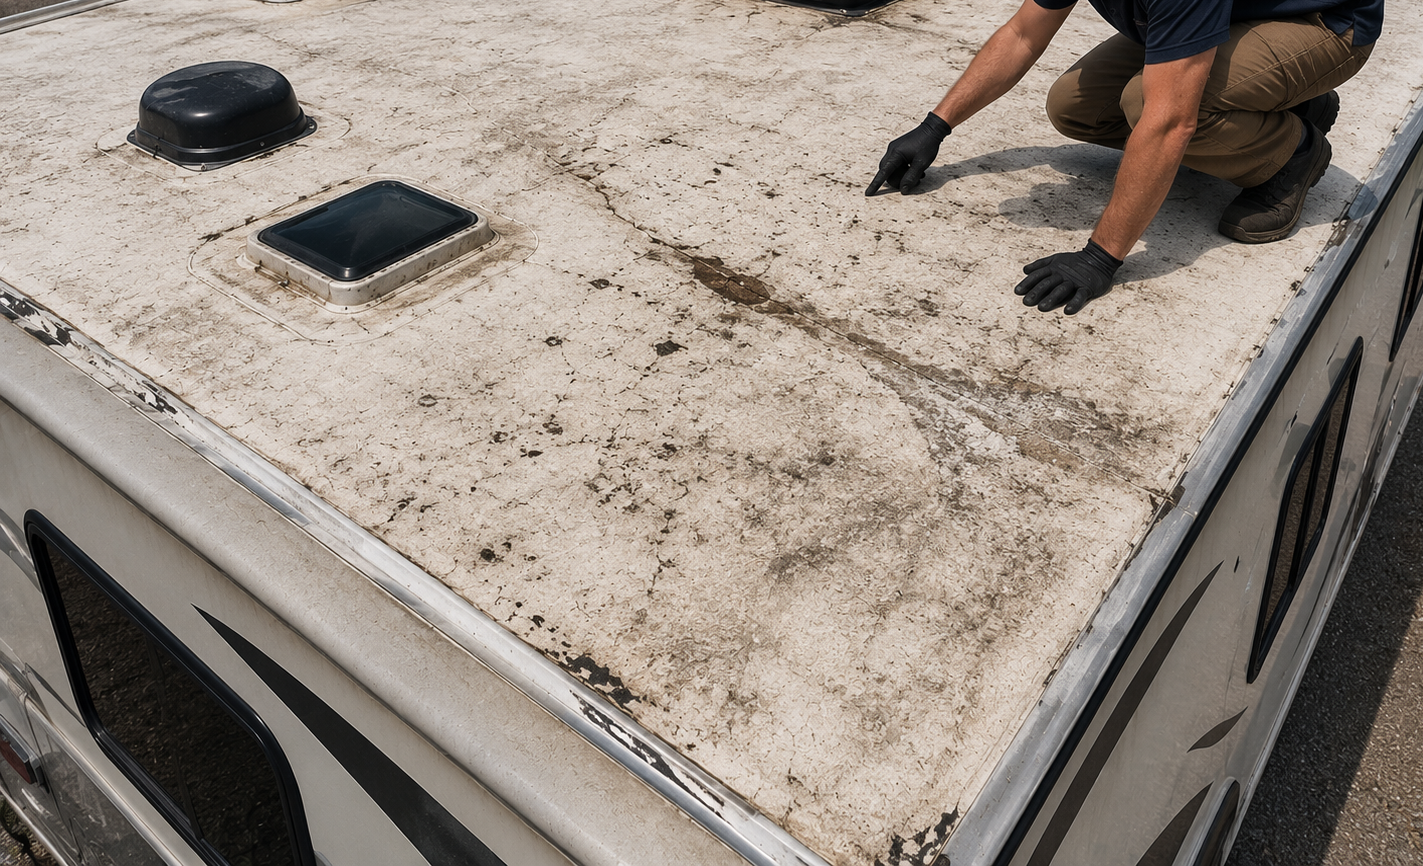
Before quoting anything, we check the membrane for tears, soft decking, failed seams, and previous silicone. Coating a compromised roof wastes your money, so this step decides whether we proceed or recommend other work first.
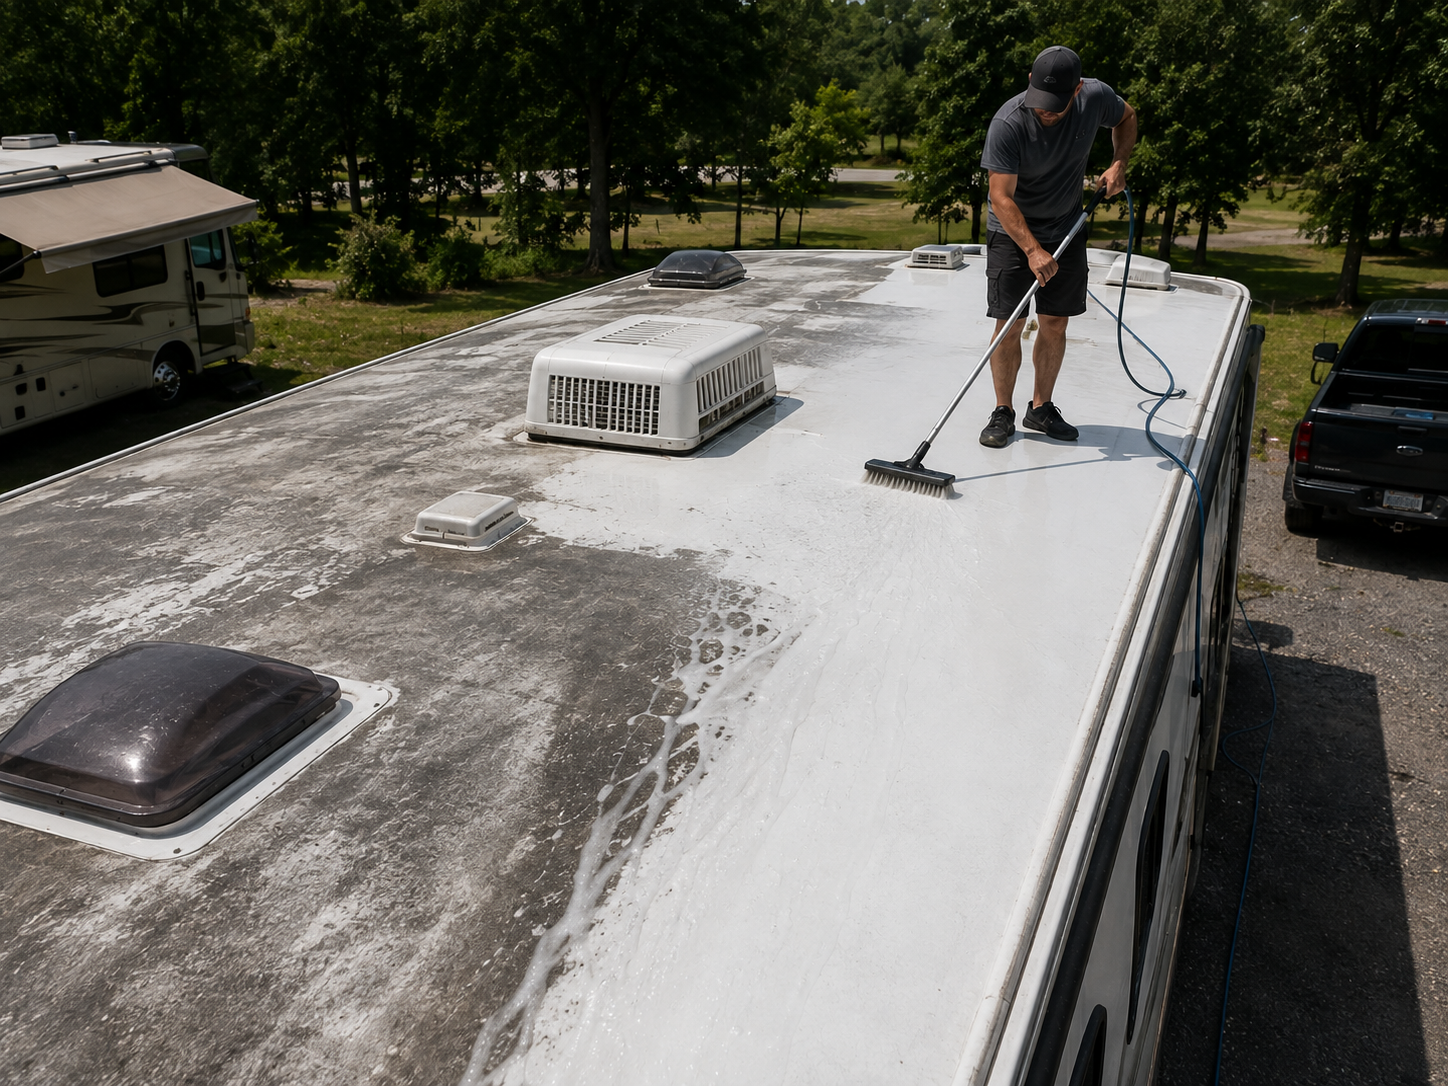
DEEP CLEAN
Roof Cleaning and Chalk Removal
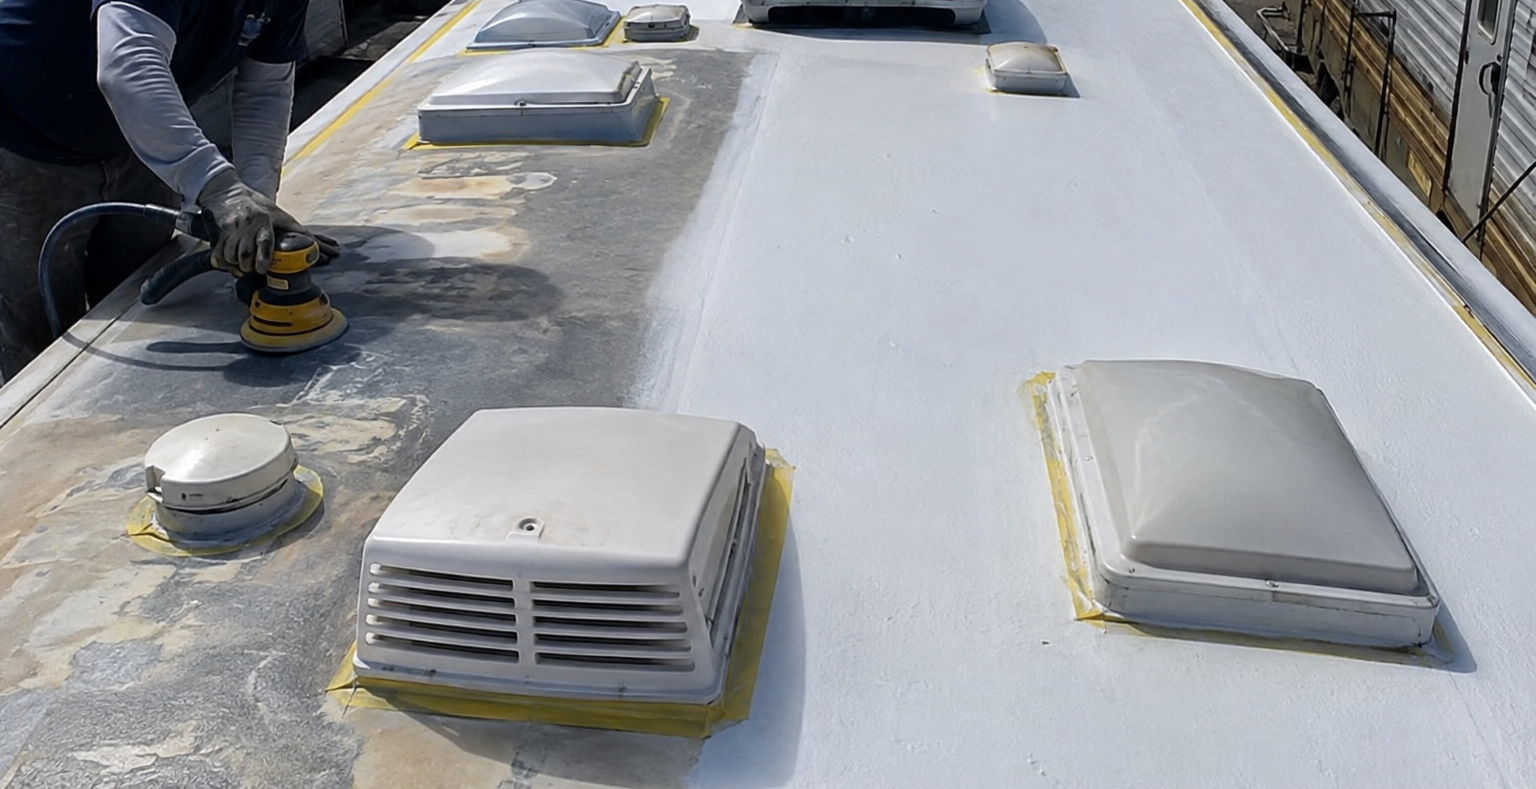
Oxidized rubber sheds a powdery layer that no coating can grip, and petroleum based cleaners damage the membrane itself. We wash with products rated for your roof material and rinse until the surface runs clean.
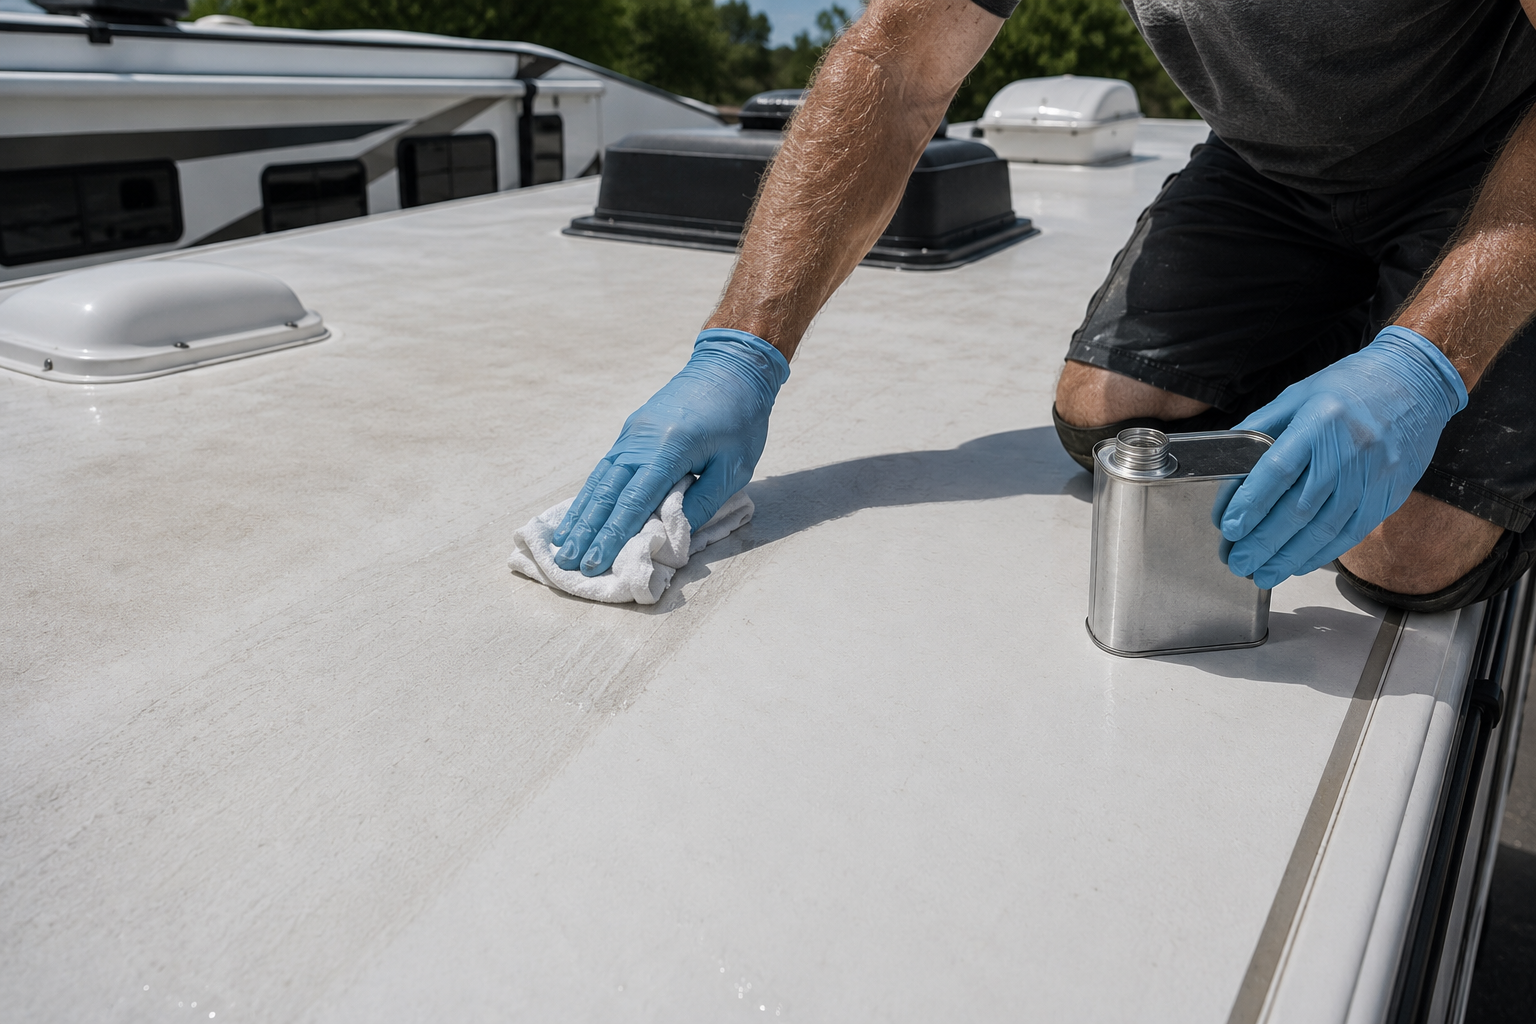
PREP WORK
Cleaner and Activator Application
Most acrylic systems require a dedicated cleaner and activator before the coating goes on, and skipping it is why so many jobs peel. We apply it as the manufacturer directs and let it flash off properly.
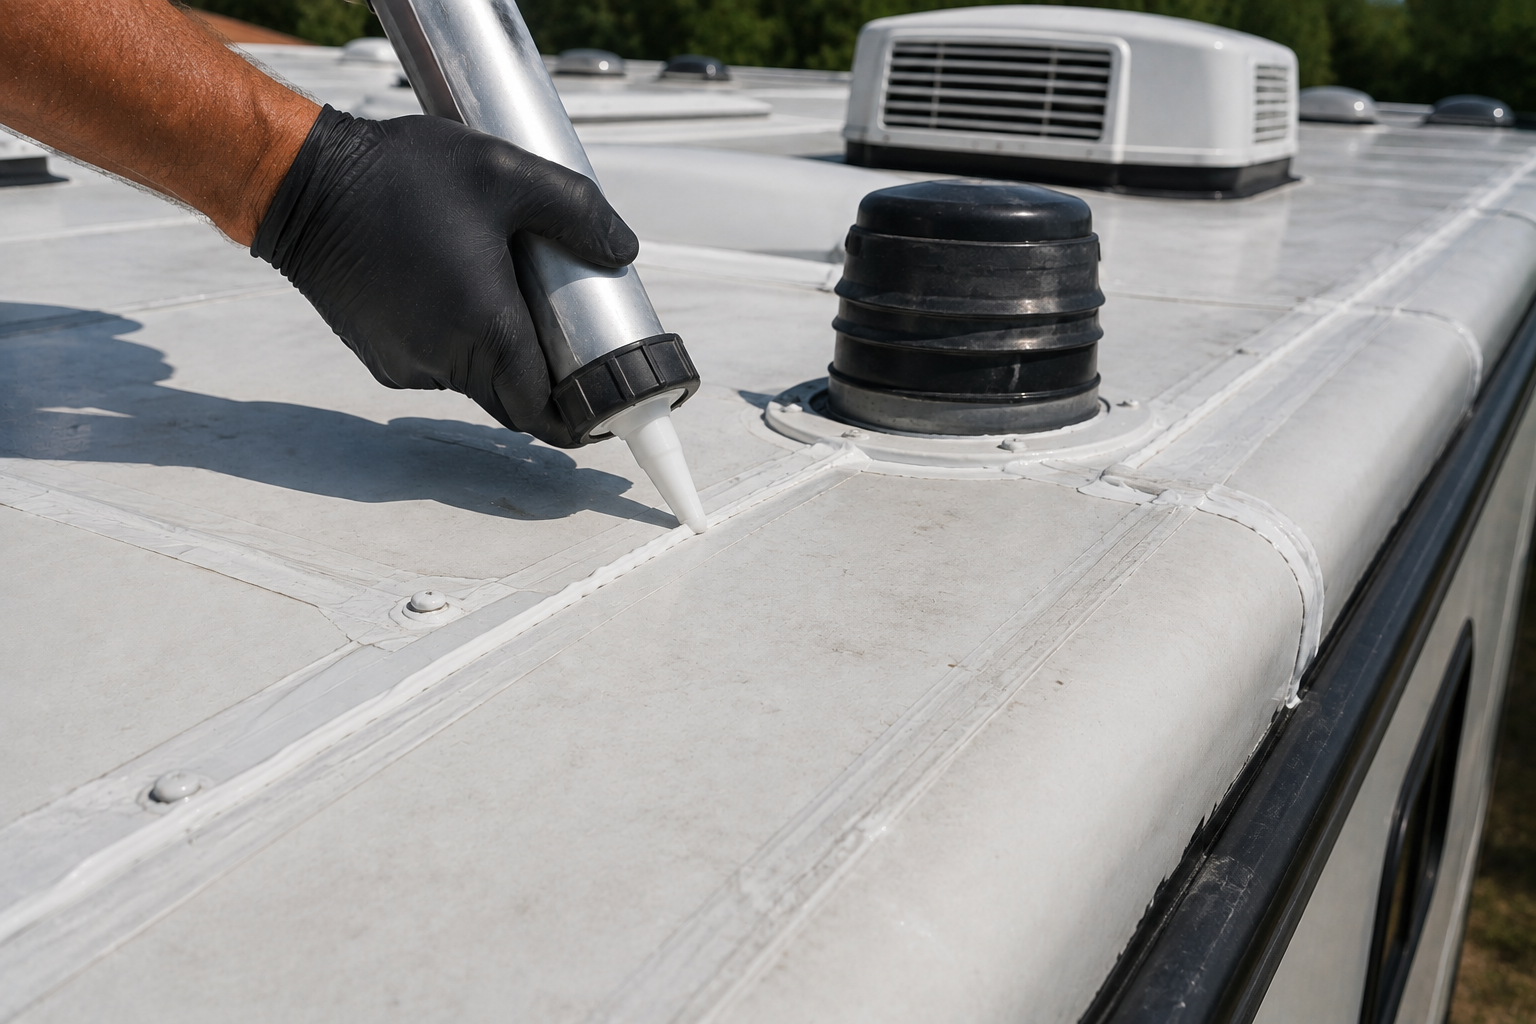
SEAM DETAIL
Seam and Penetration Detailing
Coating is not a substitute for sealant, so seams, vent flanges, and screw heads are sealed or taped before the roller comes out. Every detail gets addressed while it is still easy to reach.
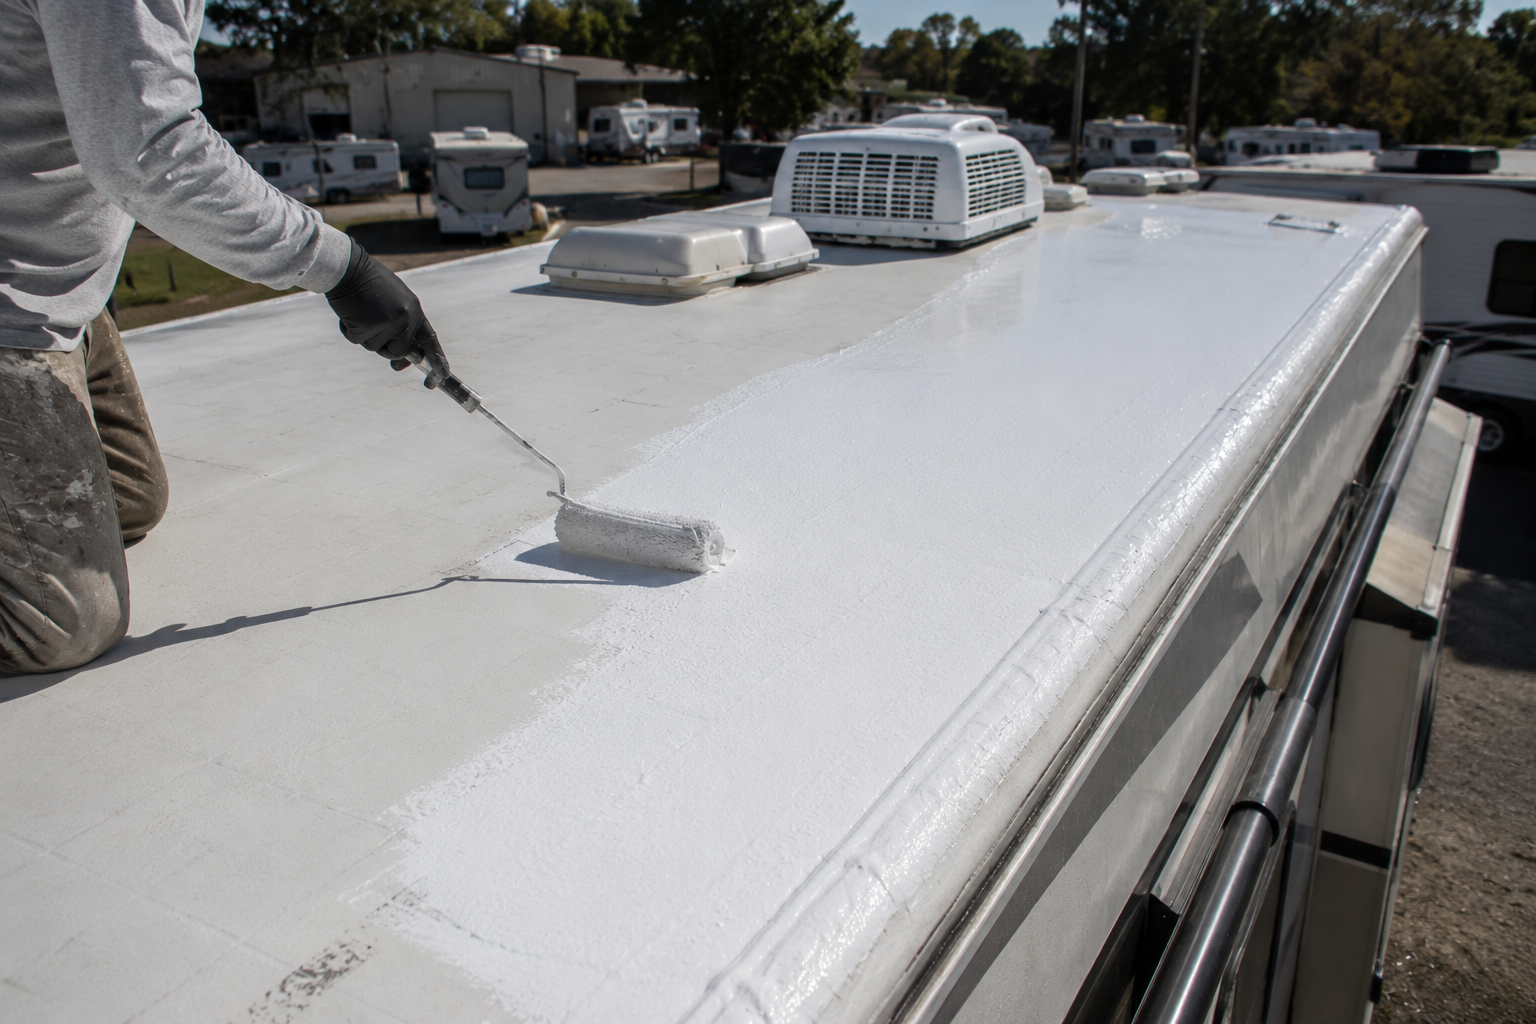
ACRYLIC
Acrylic Elastomeric Coating
Two coats of white elastomeric acrylic give a reflective, flexible finish over rubber membranes at the film thickness the data sheet specifies. Thin single passes look fine on day one and fail early.
FIBERGLASS
Fiberglass and Aluminum Roof Coating
Hard roofs need their own products and far more aggressive preparation, including degreasing, abrading, and taping before any coating. We follow the process for the surface rather than treating every roof the same way.
Common Questions
FREQUENTLY ASKED QUESTIONS.
Coating questions come up every spring around Branch County, MI, usually right after somebody notices chalky black streaks running down the side of their travel trailer after a rain.
How long does an RV roof coating last?
A properly prepped, two-coat acrylic system commonly holds for several years before it needs refreshing, though sun exposure and storage conditions move that number considerably. Thin or poorly prepped applications can start failing within just a single season.
What is the best coating for a rubber RV roof?
White elastomeric acrylic designed for EPDM or TPO membranes is the usual choice, applied over the manufacturer cleaner and activator. Meier RV Repair LLC identifies the membrane in Coldwater, MI before choosing any product, because the wrong one peels.
Is acrylic or silicone better for an RV roof?
Acrylic is the common choice for RV membranes, cures to a reflective flexible film, and can be recoated later with almost anything. Silicone resists standing water better, but it holds dirt and can only ever be recoated with more silicone.
Do you have to remove old coating before recoating?
Loose, peeling, or chalking material has to come off, since new coating bonds to what it touches. Sound existing coating of the same type can usually be washed, prepped, and recoated without stripping the entire roof back down.
Does roof coating stop leaks?
Not on its own. Coating seals fine surface crazing and protects the membrane, but an open seam, a torn membrane, or a failed vent flange needs proper sealing or repair first. Coating over a leak simply hides it.
What temperature do you need to apply RV roof coating?
Manufacturers generally require 50 degrees and rising with a dry surface and no rain, dew, or freezing expected for a full day afterward. In Coldwater, MI that gives Meier RV Repair LLC a season from late spring to early fall.
How many coats does an RV roof need?
Two, for nearly every acrylic product on the market, because a single pass never reaches the dry film thickness the warranty assumes. The second coat also covers over the thin spots that the first one inevitably leaves behind.
Will coating fix chalking and black streaks?
Yes, provided the chalk is washed off first rather than sealed underneath the new film. The streaking comes from oxidized rubber shedding powder down the sidewalls with every rain, and a fresh coating removes that source of it entirely.
HOW WE WORK
FROM WASH TO SECOND COAT, HERE IS HOW.
STEP 01
Inspect and qualify the roof
We walk the entire roof looking for tears, soft decking, failing seams, and silicone contamination. If a coating is not the right answer for your rig, you hear that before you spend anything.
STEP 02
Check the material and the forecast
Membrane type determines the product, and the weather determines the day. We confirm both, then schedule the work into a window with the temperature and dry time the coating actually needs.
STEP 03
Wash and remove the chalk
The roof is cleaned with products safe for its material until the rinse water runs clear of chalky residue. Any surface left dusty will release the coating later, no matter how carefully it is applied.
STEP 04
Detail the seams first
Seams, vent flanges, skylight perimeters, and fasteners are sealed or taped before coating begins. Handling these details first means the finished surface is uniform rather than lumpy with afterthought repairs.
STEP 05
Apply cleaner, activator, and first coat
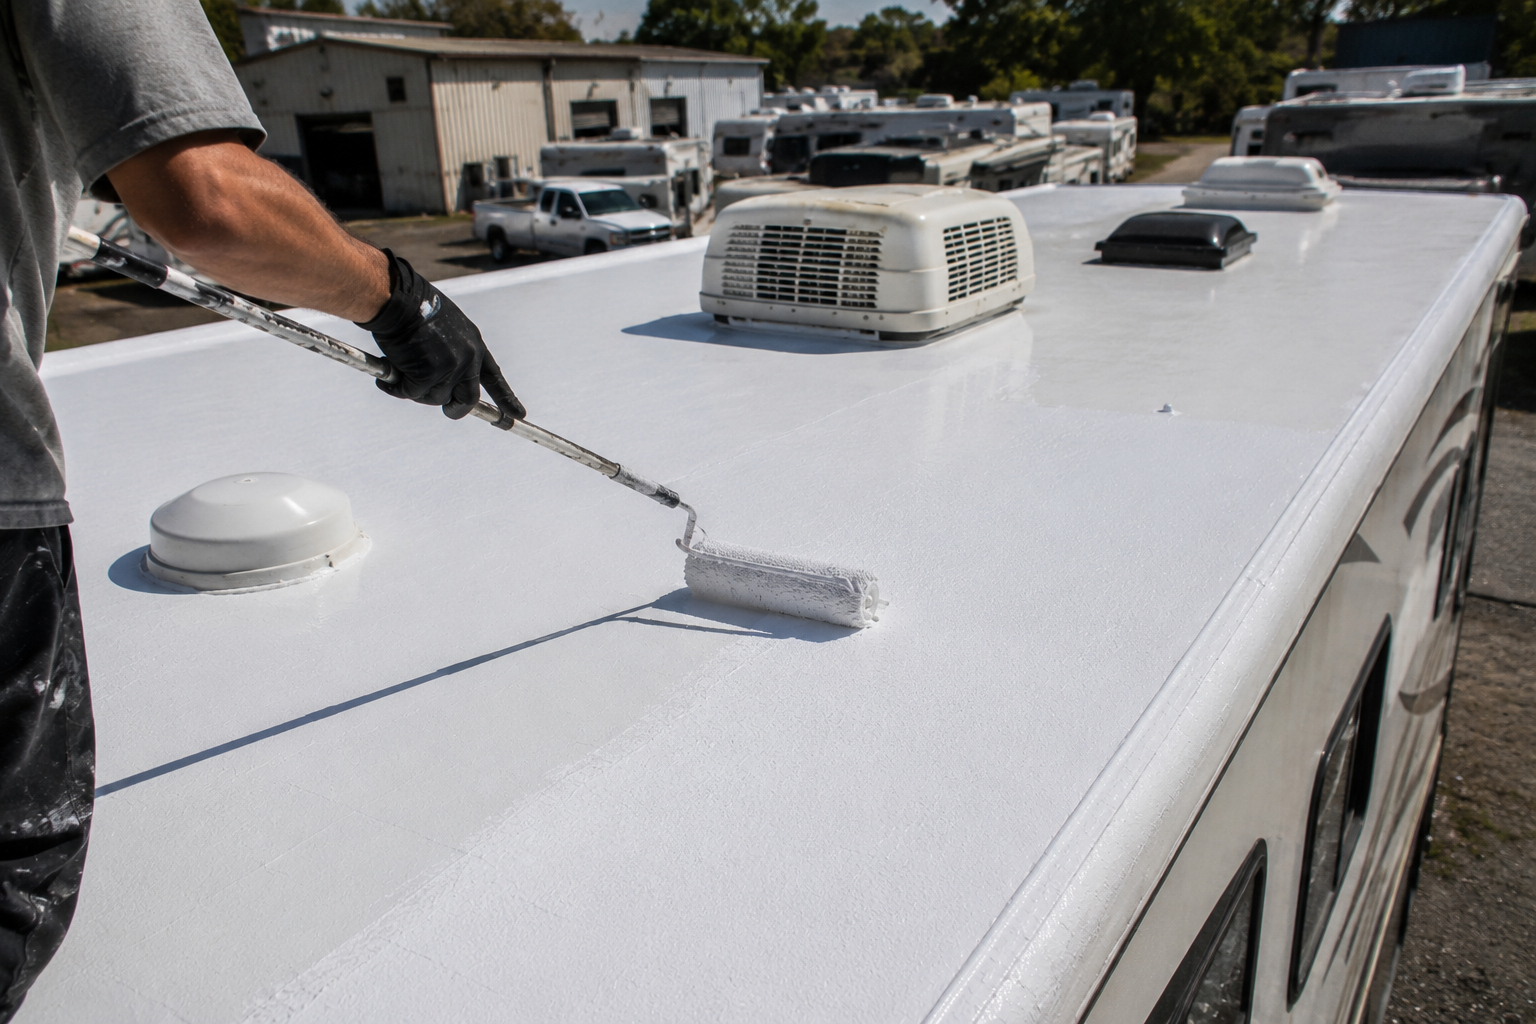
Where the system calls for an activator, it goes on and flashes off before the first coat is rolled. That coat is applied to the specified thickness rather than stretched to save material.
STEP 06
Second coat, cure, and inspect
The second coat goes on once the first has set within the recoat window, then the roof cures undisturbed. We inspect the finished film for thin areas and hand over photographs with your paperwork.
GET YOUR REPAIR ESTIMATE
PUT A FRESH SURFACE ON A ROOF WORTH KEEPING.
Send us the make, model, and roof material through our contact page, along with a photograph of the roof if you can take one safely. We will tell you whether coating is the right call this season.
WHAT YOUR COATING VISIT COVERS:
✓ An honest inspection before any product is bought
✓ Membrane identified and matched to a system
✓ Full wash and chalk removal
✓ Seams and penetrations detailed first
✓ Two coats at the specified film thickness
✓ Cure time respected, not rushed