
RV Roof Resealing
RV ROOF RESEALING in Branch County, MI
RV makers ask owners to inspect roof seams every 90 days, and Michigan hands sealant 42 freeze thaw cycles a year to fail in. Meier RV Repair LLC handles RV roof resealing in Coldwater and across Branch County, MI, stripping tired lap sealant, prepping the membrane, and rebedding every vent, skylight, and fastener. Written estimates start on our contact page.
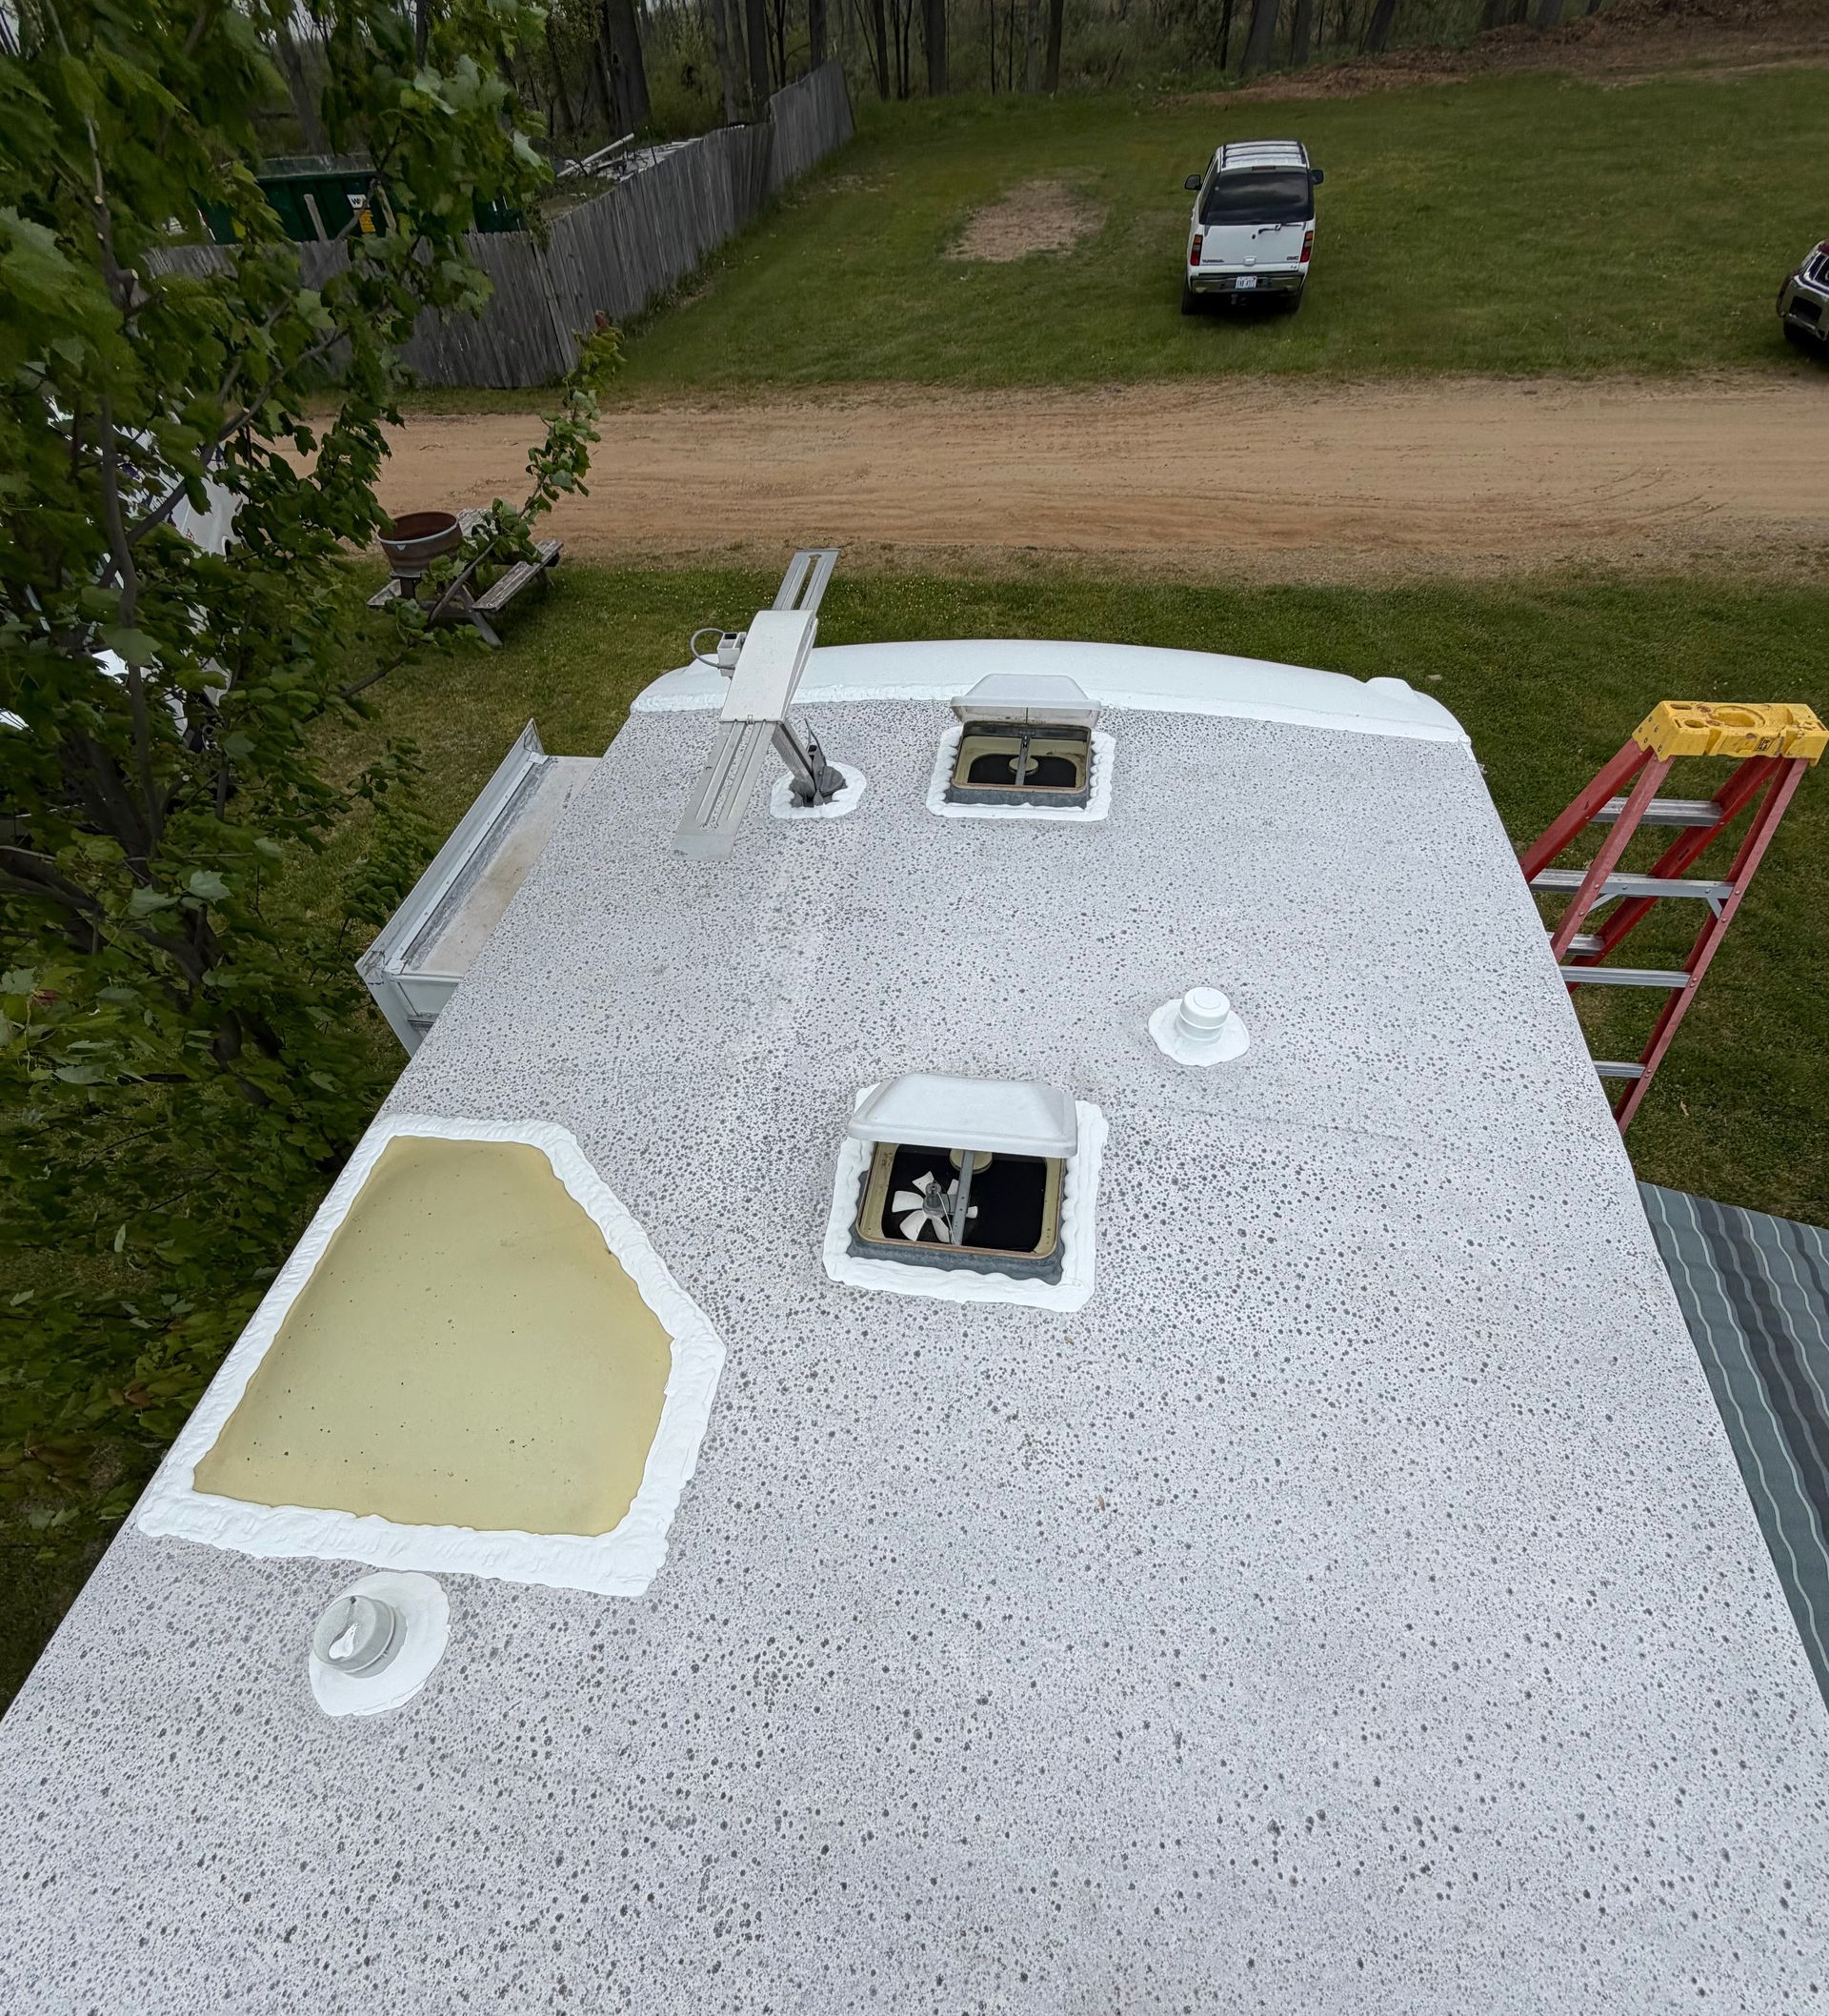
SEALANT IS THE CHEAPEST PART OF YOUR RV.
A tube of lap sealant costs less than a tank of fuel. The plywood decking, the ceiling panel, the wall studs, and the slideout floor that sit underneath it do not. Almost every expensive repair that rolls into our shop began as a quarter inch of cracked sealant somebody meant to look at last fall.
So we treat resealing as prevention with a deadline attached, not as cosmetic work. Catch the seam while it is only chalked and open, and the repair stays a morning of labor rather than a rebuild.
✓ Full roof and penetration inspection first
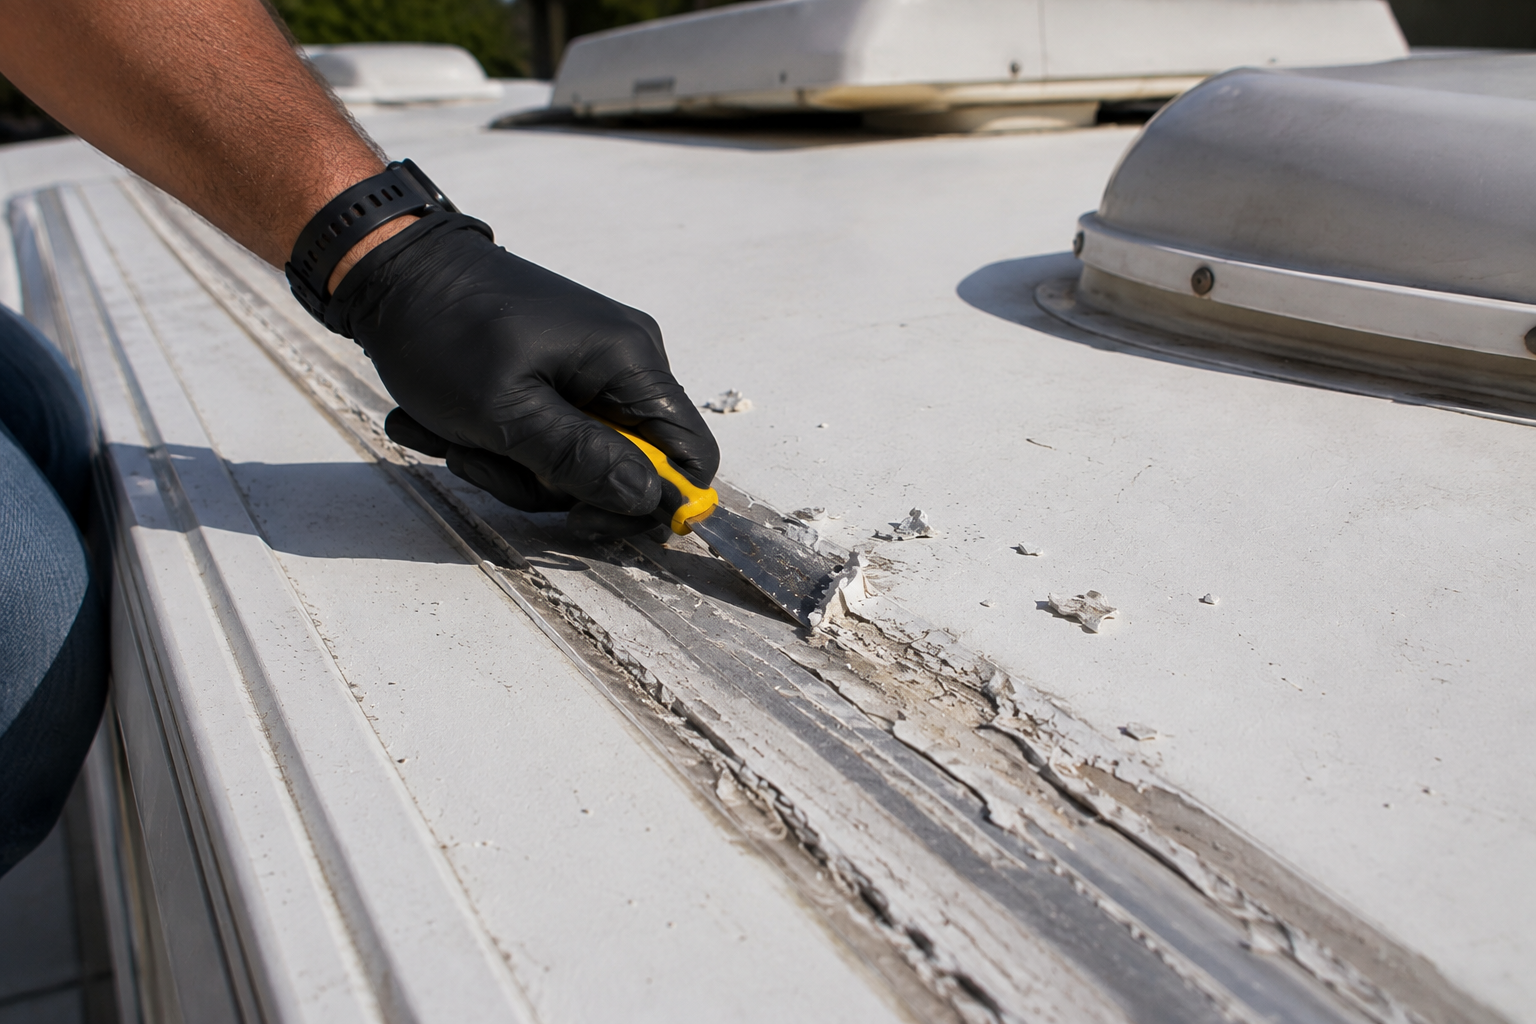
✓ Old failed sealant removed, not buried
✓ Self-leveling and non-sag sealant used correctly
✓ Photographs of every seam we work on
RV ROOF RESEALING
YOUR ROOF HAS ROUGHLY 40 PLACES TO LEAK.
Count them sometime. Air conditioner gasket, vent flanges, skylight, refrigerator vent, antenna base, solar mounts, ladder brackets, front and rear caps, termination rails down both sides, and every screw head holding those parts down. Each one is a hole cut through the membrane and filled with sealant that moves every time the rig flexes over a bad road. Resealing means addressing all of them in one visit, because water only needs the single opening nobody checked.
BRANCH COUNTY WEATHER TESTS SEALANT TWICE A DAY.
A rig parked here crosses freezing and thaws again roughly 42 times a year, and each cycle works water deeper into a crack before pushing it open. Add summer ultraviolet exposure that chalks the surface and about 27 inches of winter snow sitting on the seams, and sealant here simply does not last as long as the label suggests. We plan resealing around that reality rather than a calendar reminder.
10 YEARS OF FINDING WHERE THE WATER GOT IN.
Owners usually arrive certain the leak is above the stain on the ceiling. It rarely is. Water runs along a roof truss, down a wall cavity, and appears 3 feet from where it entered. In 10 years of RV work we have learned to test rather than assume, so we trace the path back to the actual opening before a drop of sealant is applied. What have you noticed on your ceiling lately?
WHAT A PROPER RESEAL BUYS YOU
DRY DECKING
The plywood under your membrane never dries out once it is soaked. Keeping water off it protects the structural layer that holds every rooftop component in place and keeps the ceiling from sagging.
NO SURPRISE TEARDOWNS
A sealed roof means the shop does not have to open your ceiling to find out how far the damage traveled. That difference decides whether a repair takes half a day or several weeks.
PROTECTED RESALE VALUE
Buyers and dealers check roofs first, and visible water staining discounts a rig immediately. A documented resealing history answers the question before anyone starts pressing on the ceiling panels.
FEWER INTERIOR REPAIRS
Water that gets past the roof ruins insulation, wall paneling, cabinetry, and wiring on its way down. Stopping it at the seam keeps the repair list to one line instead of six.
QUIETER, DRIER STORAGE
Sitting through a Michigan winter is when most damage happens, since nobody is inside to notice a drip. Fresh sealant going into storage season means spring opens with no musty smell.
ONE PREDICTABLE VISIT
Resealing is scheduled work with a known scope and a known cost. That makes it far easier to plan around than the emergency repair it prevents down the road.
WHAT WE SEAL
OUR RV ROOF RESEALING WORK
Every roof gets the same treatment order: inspect, clean, remove what failed, then seal each detail with the product that suits it. These are the areas we address on a full resealing visit.
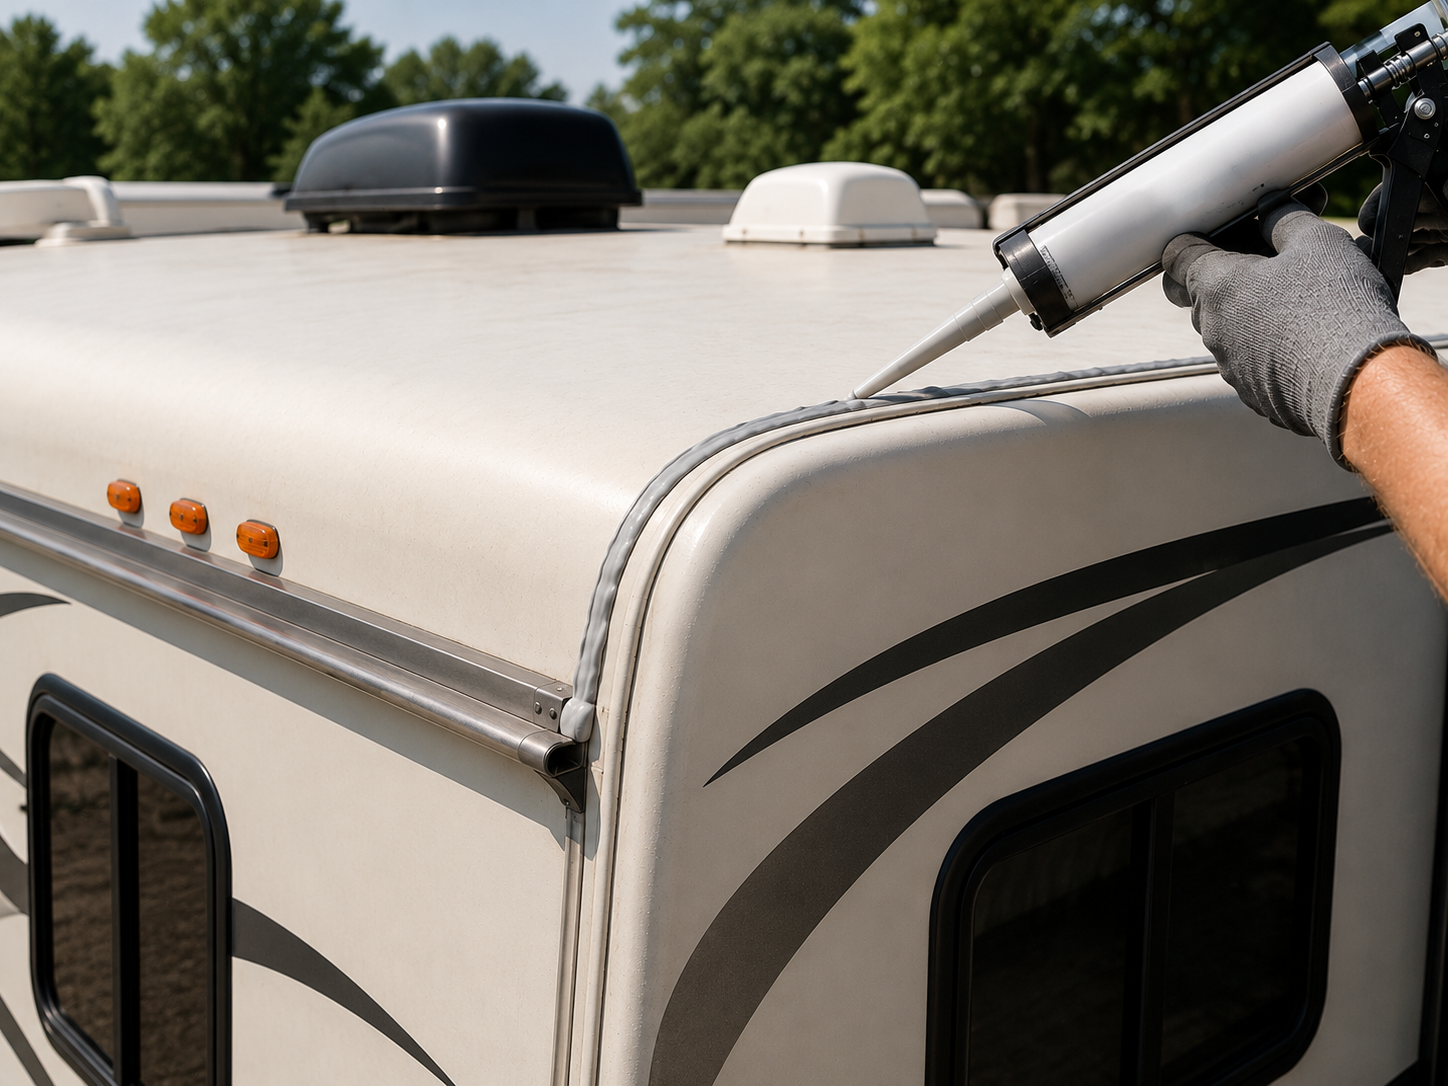
ROOF SEAMS
Seam and Termination Rail Resealing
The long joints where the membrane meets the front cap, rear cap, and side rails carry the most movement on the roof. We clear the old bead, clean to sound material, and lay non-sag sealant along the vertical edges.
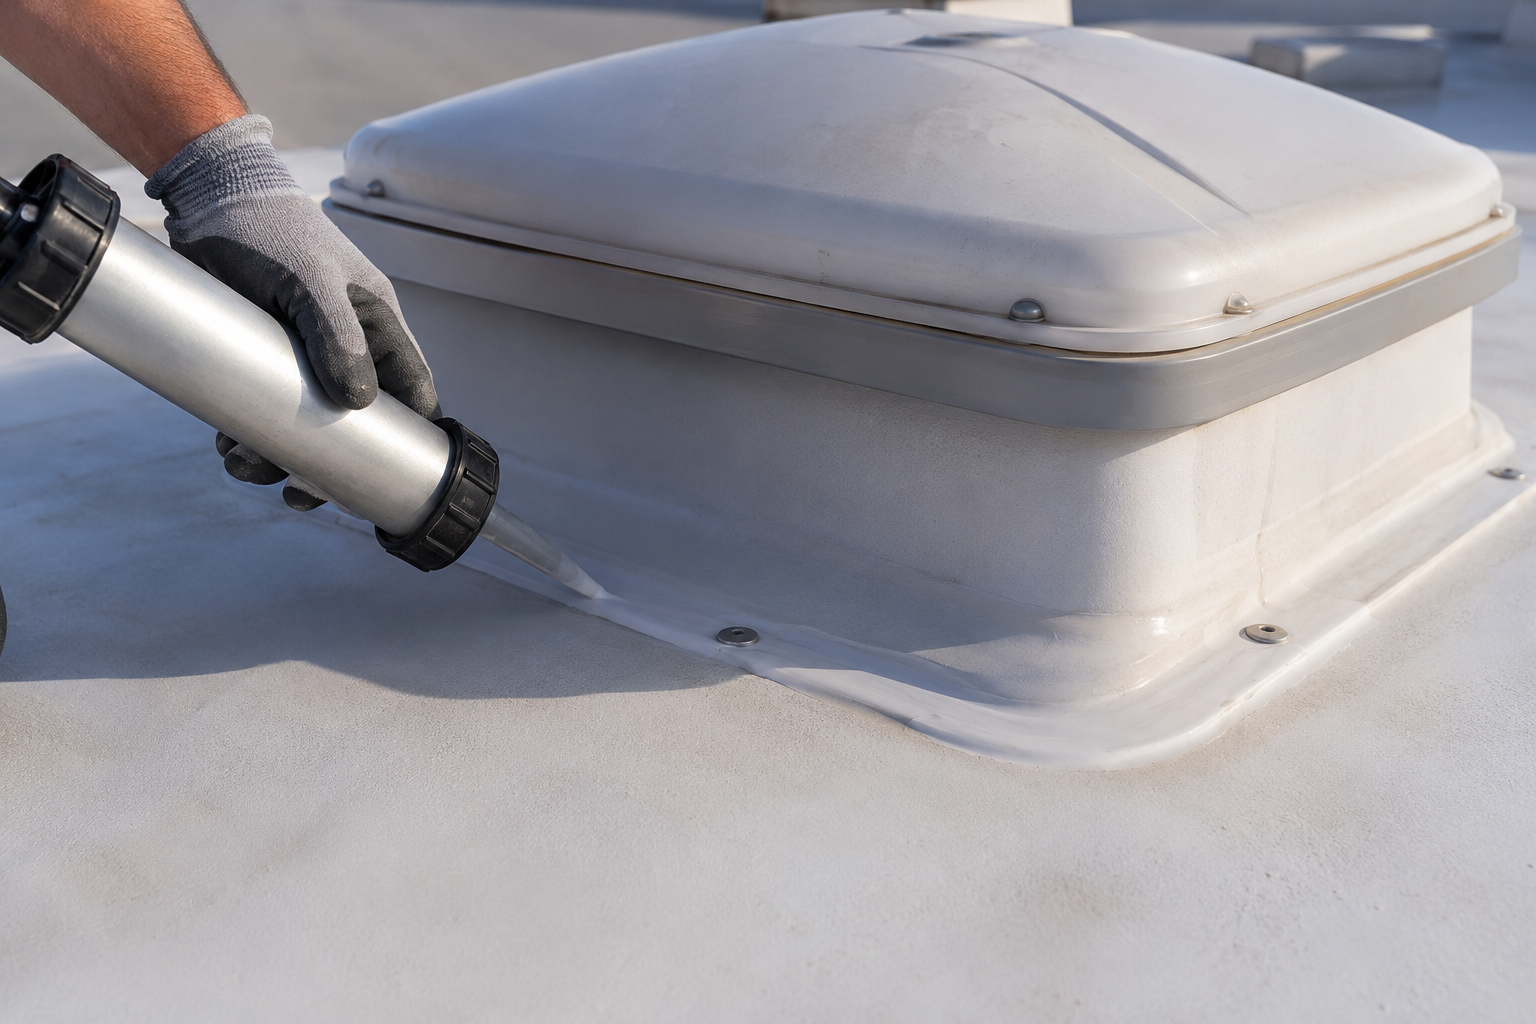
VENT FLANGES
Vent and Fan Flange Sealing
Roof vents and fan housings are screwed through the membrane into decking, and those fasteners loosen with vibration. We reset loose screws, then cover flanges and screw heads with self-leveling sealant so the bead flows flat and stays watertight.
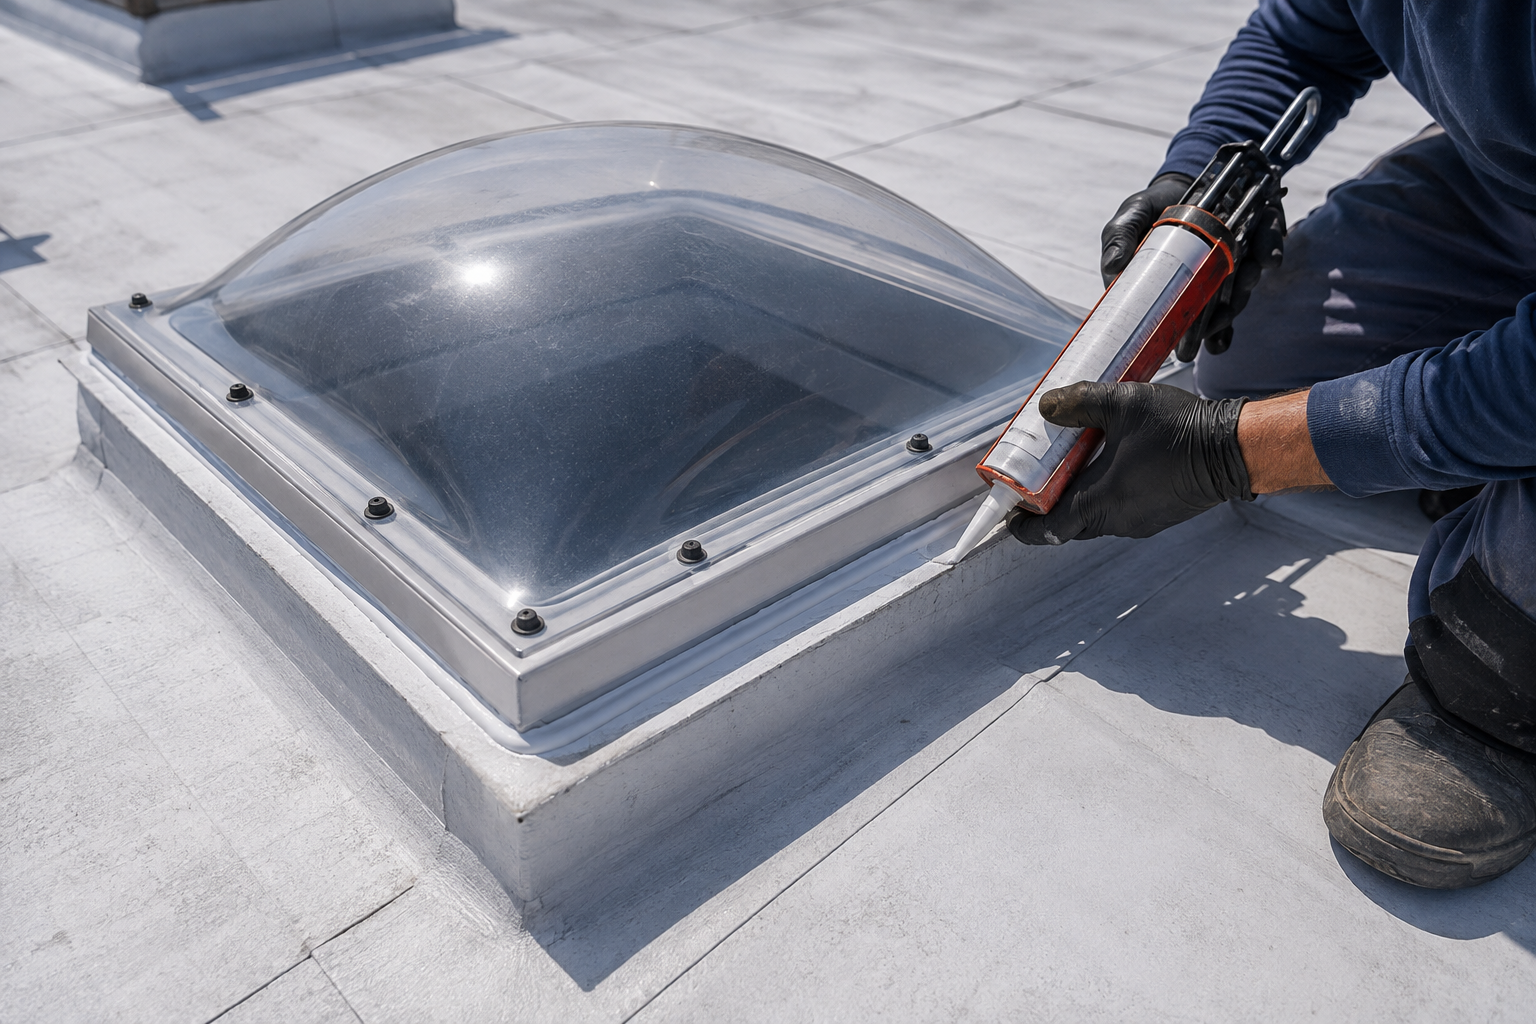
SKYLIGHTS
Skylight and Dome Resealing
Acrylic domes go brittle under years of ultraviolet exposure and crack around the mounting flange where nobody looks. We inspect the dome itself, replace it when it has hazed or split, and seal the perimeter properly.
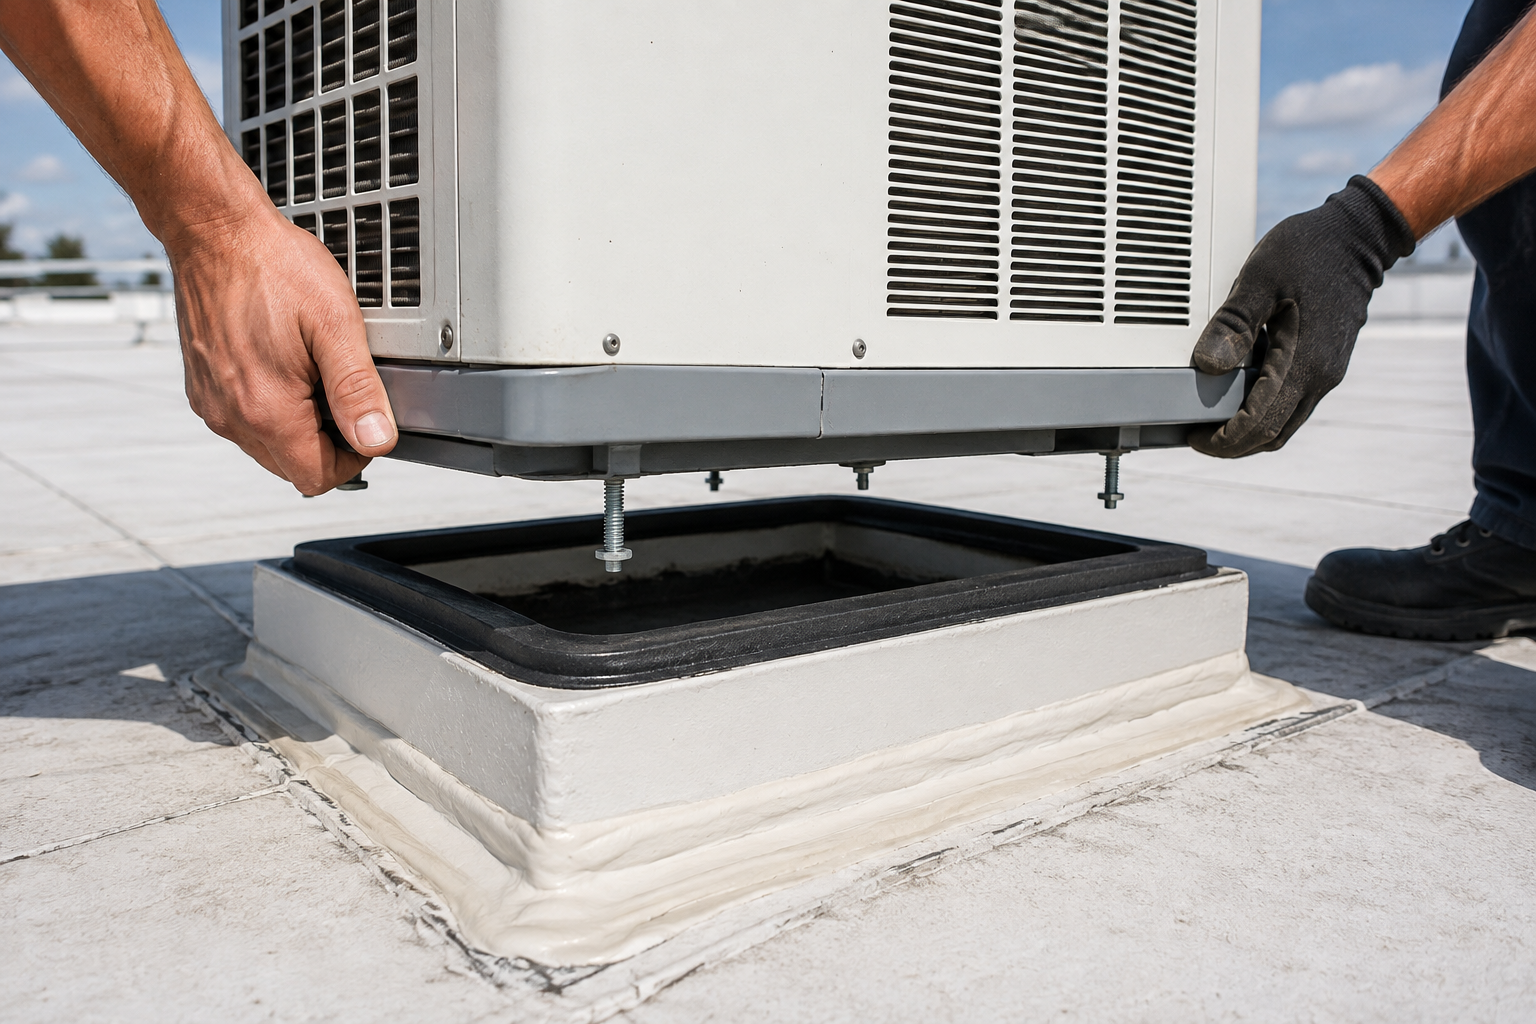
AC GASKET
Air Conditioner Gasket Replacement
A flattened air conditioner gasket lets water track down the duct opening and into the ceiling, which owners often blame on a leaking roof seam. We lift the unit, fit a fresh gasket, and torque the bolts evenly.
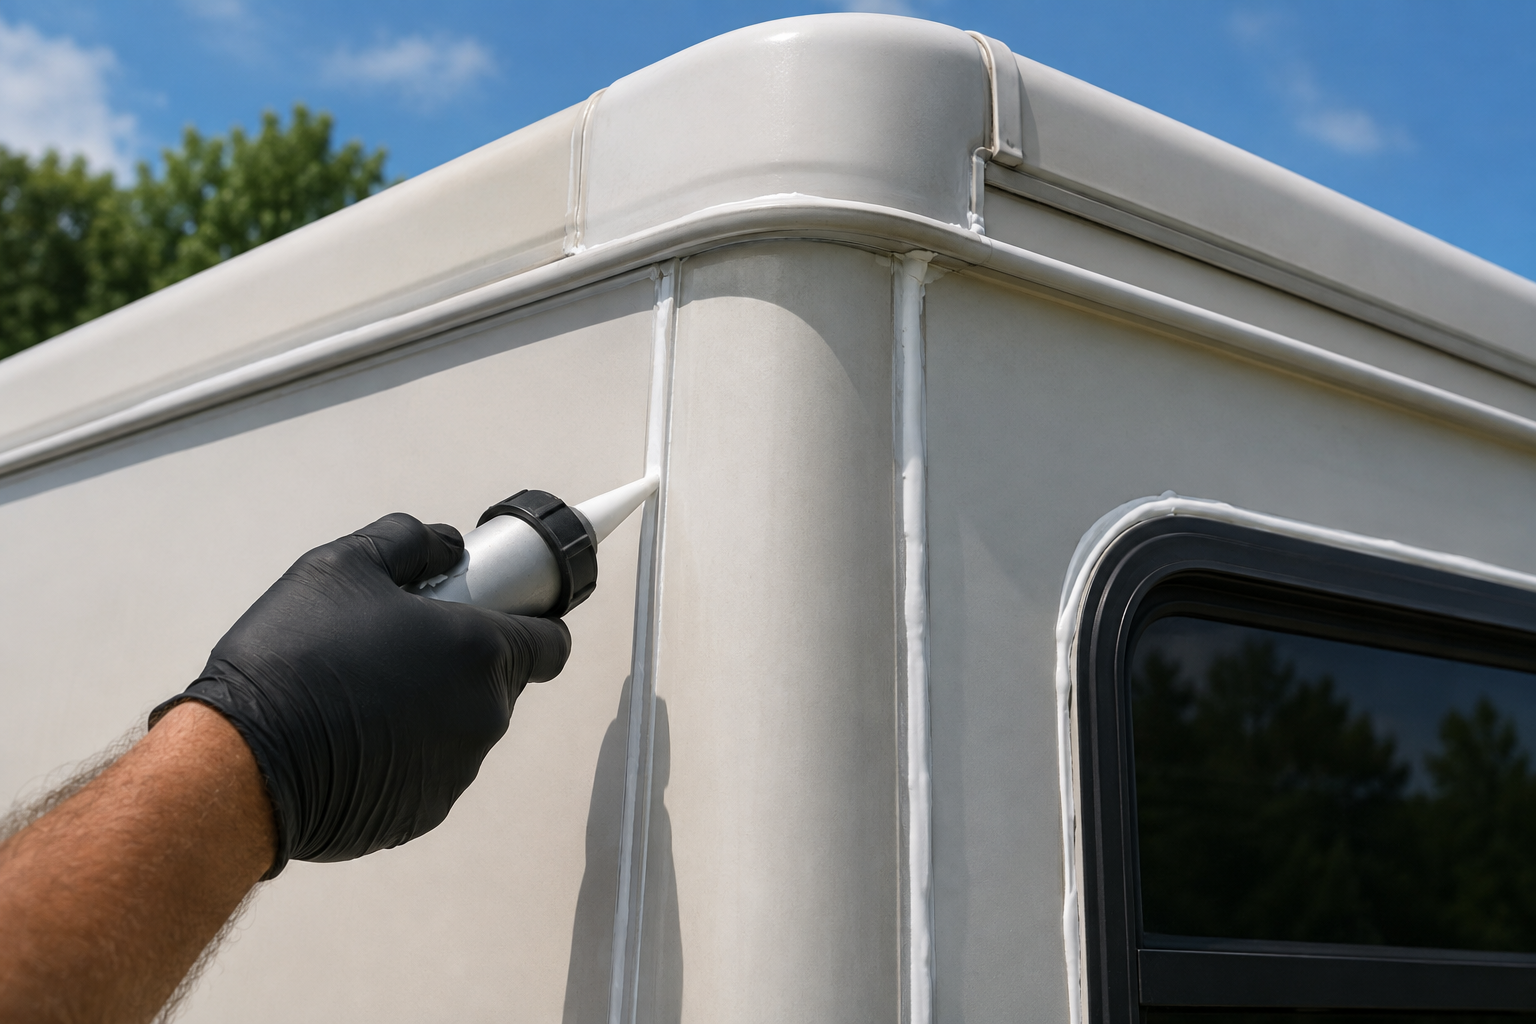
SIDEWALL JOINTS
Corner Trim and Sidewall Sealing
Water does not only enter from above. Corner moldings, window frames, and the trim strips down each sidewall all rely on sealant that shrinks. We clean and reseal those joints with the right non-sag product.
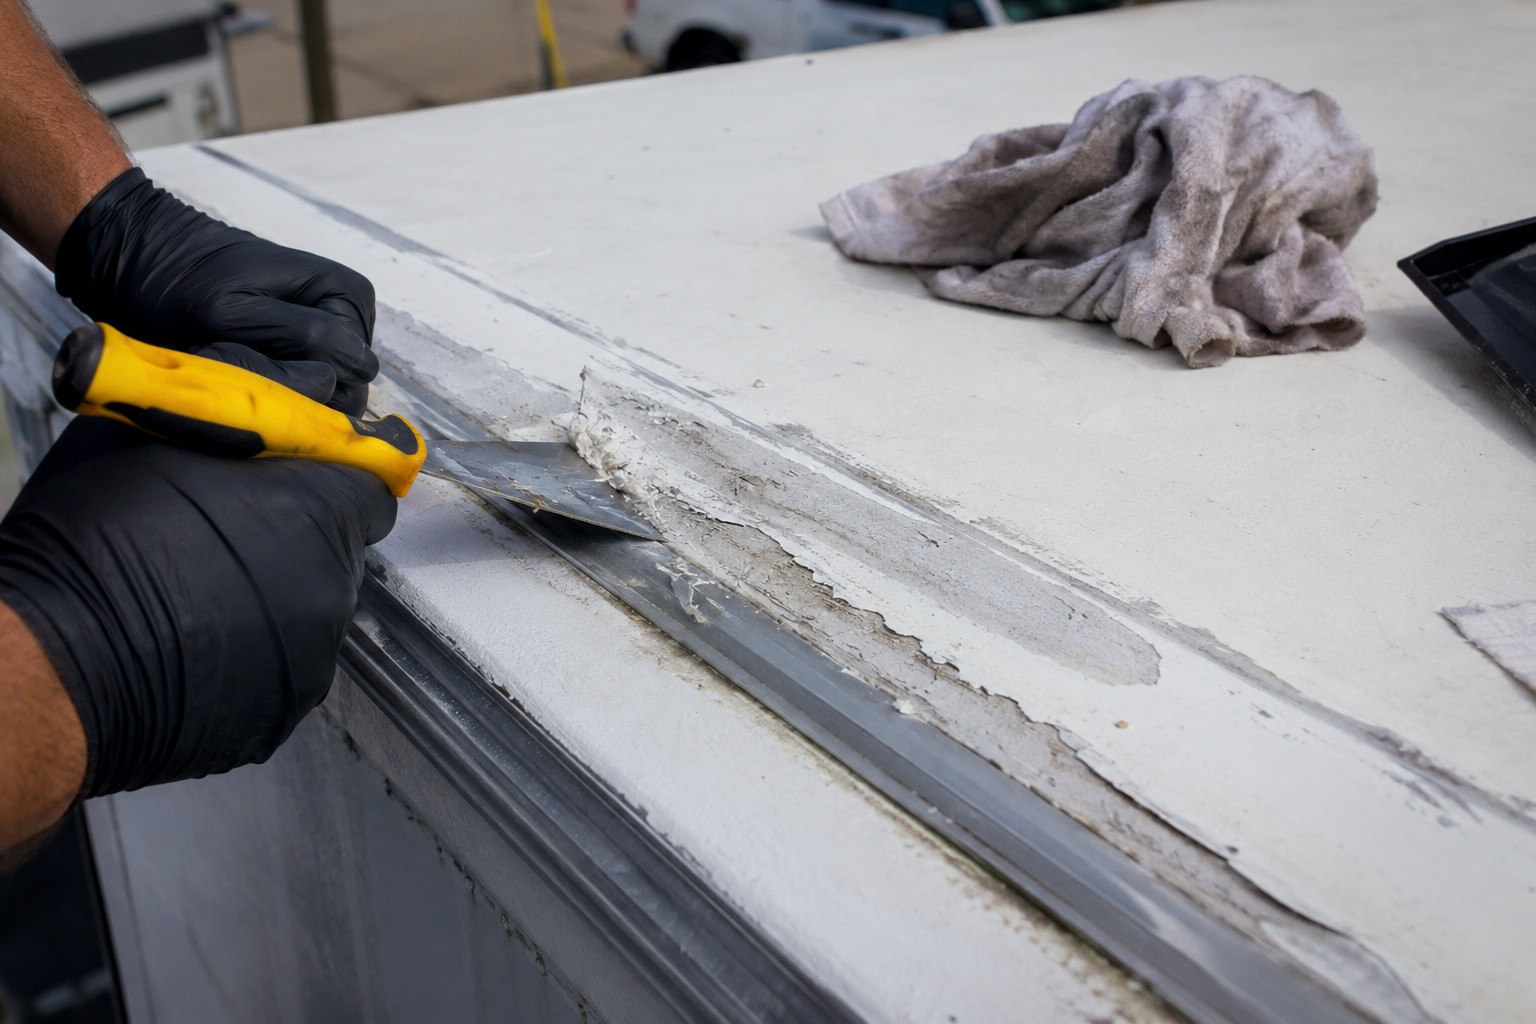
SEALANT REMOVAL
Failed Sealant Removal and Prep
Layering new material over cracked, chalked, or silicone contaminated sealant simply hides the problem for a season. We scrape and clean back to a sound surface, because nothing bonds reliably to a failing bead underneath.
Common Questions
FREQUENTLY ASKED QUESTIONS.
These are the resealing questions RV owners ask us most, answered the way we would answer them in the shop with your roof open in front of us.
How often should an RV roof be resealed?
Inspect the seams at least every 90 days as most manufacturers instruct, and expect to reseal problem areas every year or two. Full resealing intervals depend on storage, sun exposure, and how well the rig was sealed originally.
How do I know if my RV roof needs resealing?
Look for sealant that has cracked, chalked, shrunk back from a flange, lifted at the edges, or turned brittle enough to flake. Ceiling stains, a musty smell, or soft spots underfoot all mean water is already getting inside.
What is the best sealant for an RV roof?
The correct answer depends on your membrane. EPDM, TPO, and fiberglass each accept different products, and manufacturers instruct owners to reseal with the type originally installed. Meier RV Repair LLC identifies the roof material in Coldwater, MI before opening a tube.
Can you put new sealant over old sealant?
Only over sound, clean, compatible sealant. New material laid over a cracked, chalked, or silicone contaminated bead will not bond and will lift within a season. Removing the failed layer costs labor now and saves the repeat visit.
What is the difference between self-leveling and non-sag lap sealant?
Self-leveling sealant flows out flat and is used on horizontal surfaces such as the roof deck, the vent flanges, and screw heads. Non-sag sealant holds its shape on vertical edges like termination rails, vent risers, and sidewall trim.
Can you use silicone caulk on an RV roof?
No. Silicone will not bond to most roofing membranes, it traps water underneath, and nothing else will stick to the surface afterward. Removing cured silicone is one of the more tedious jobs we take on in the shop.
Can an RV roof be resealed in cold weather?
Sealants need a dry surface and generally 50 degrees and rising to cure properly, so reliable work around Coldwater, MI runs from late April through early October. Meier RV Repair LLC books resealing inside that window rather than fighting it.
Can you walk on an RV roof?
That depends on construction, so check your owner manual before climbing up. Roofs built on trusses spaced 12 inches apart handle foot traffic, while lightweight rafters do not. We distribute our weight carefully on every roof regardless.
HOW WE WORK
FROM INSPECTION TO CURED SEALANT, HERE IS HOW.
STEP 01
Inspect the entire roof
We start on the roof with a full walk of every seam, flange, and fastener, noting what has cracked, shrunk, or lifted. Anything soft underfoot gets marked immediately, because that changes the conversation from resealing to structural repair.
STEP 02
Confirm the membrane type
EPDM, TPO, and fiberglass all take different products, and using the wrong one guarantees a repeat visit. We identify the material, check for previous silicone contamination, and select sealants the roof manufacturer approves.
STEP 03
Quote the work in writing
You get a written scope before anything is scraped, listing which areas we are resealing, what we recommend replacing, and what we found that is not urgent yet. Nothing proceeds without your approval on that estimate.
STEP 04
Strip and clean the surface
Failed sealant comes off rather than getting buried. We scrape back to sound material, clean the membrane with products safe for rubber, and let the surface dry fully so the fresh bead can actually bond.
STEP 05
Seal every detail correctly
Self-leveling goes on horizontal surfaces, non-sag on vertical edges, and loose fasteners get reset before either is applied. Each flange, screw head, and seam is worked individually rather than smeared over in one pass.
STEP 06
Cure, test, and document
Fresh sealant needs hours before it is waterproof and weeks before it fully cures, so we schedule accordingly and test with water afterward. You receive photographs of the finished roof with your paperwork.
GET YOUR REPAIR ESTIMATE
GET THE SEALANT DONE BEFORE THE RAIN TESTS IT.
Send us the make, model, and roof type through our contact page, along with anything you have noticed inside. We will tell you what a resealing visit involves for your rig and when we can schedule it.
WHAT YOUR RESEALING VISIT COVERS:
✓ A full inspection of every roof penetration
✓ Membrane identified before products are chosen
✓ Failed sealant removed back to sound material
✓ Correct sealant type on each surface
✓ Loose fasteners reset and rebedded
✓ Photographs of the finished work