RV Slideout Floors
RV SLIDEOUT FLOORS IN Branch County, MI
Slideout floors are built on 3/4-inch plywood sheeting, and rot almost always starts at the outer edge where a worn wiper seal lets water wick into the exposed core. Meier RV Repair LLC rebuilds RV slideout floors in Coldwater and across Branch County, MI, cutting out soft decking, correcting the leak path, and renewing seals. Start on the contact page.
A SOFT SPOT IS A DEADLINE.
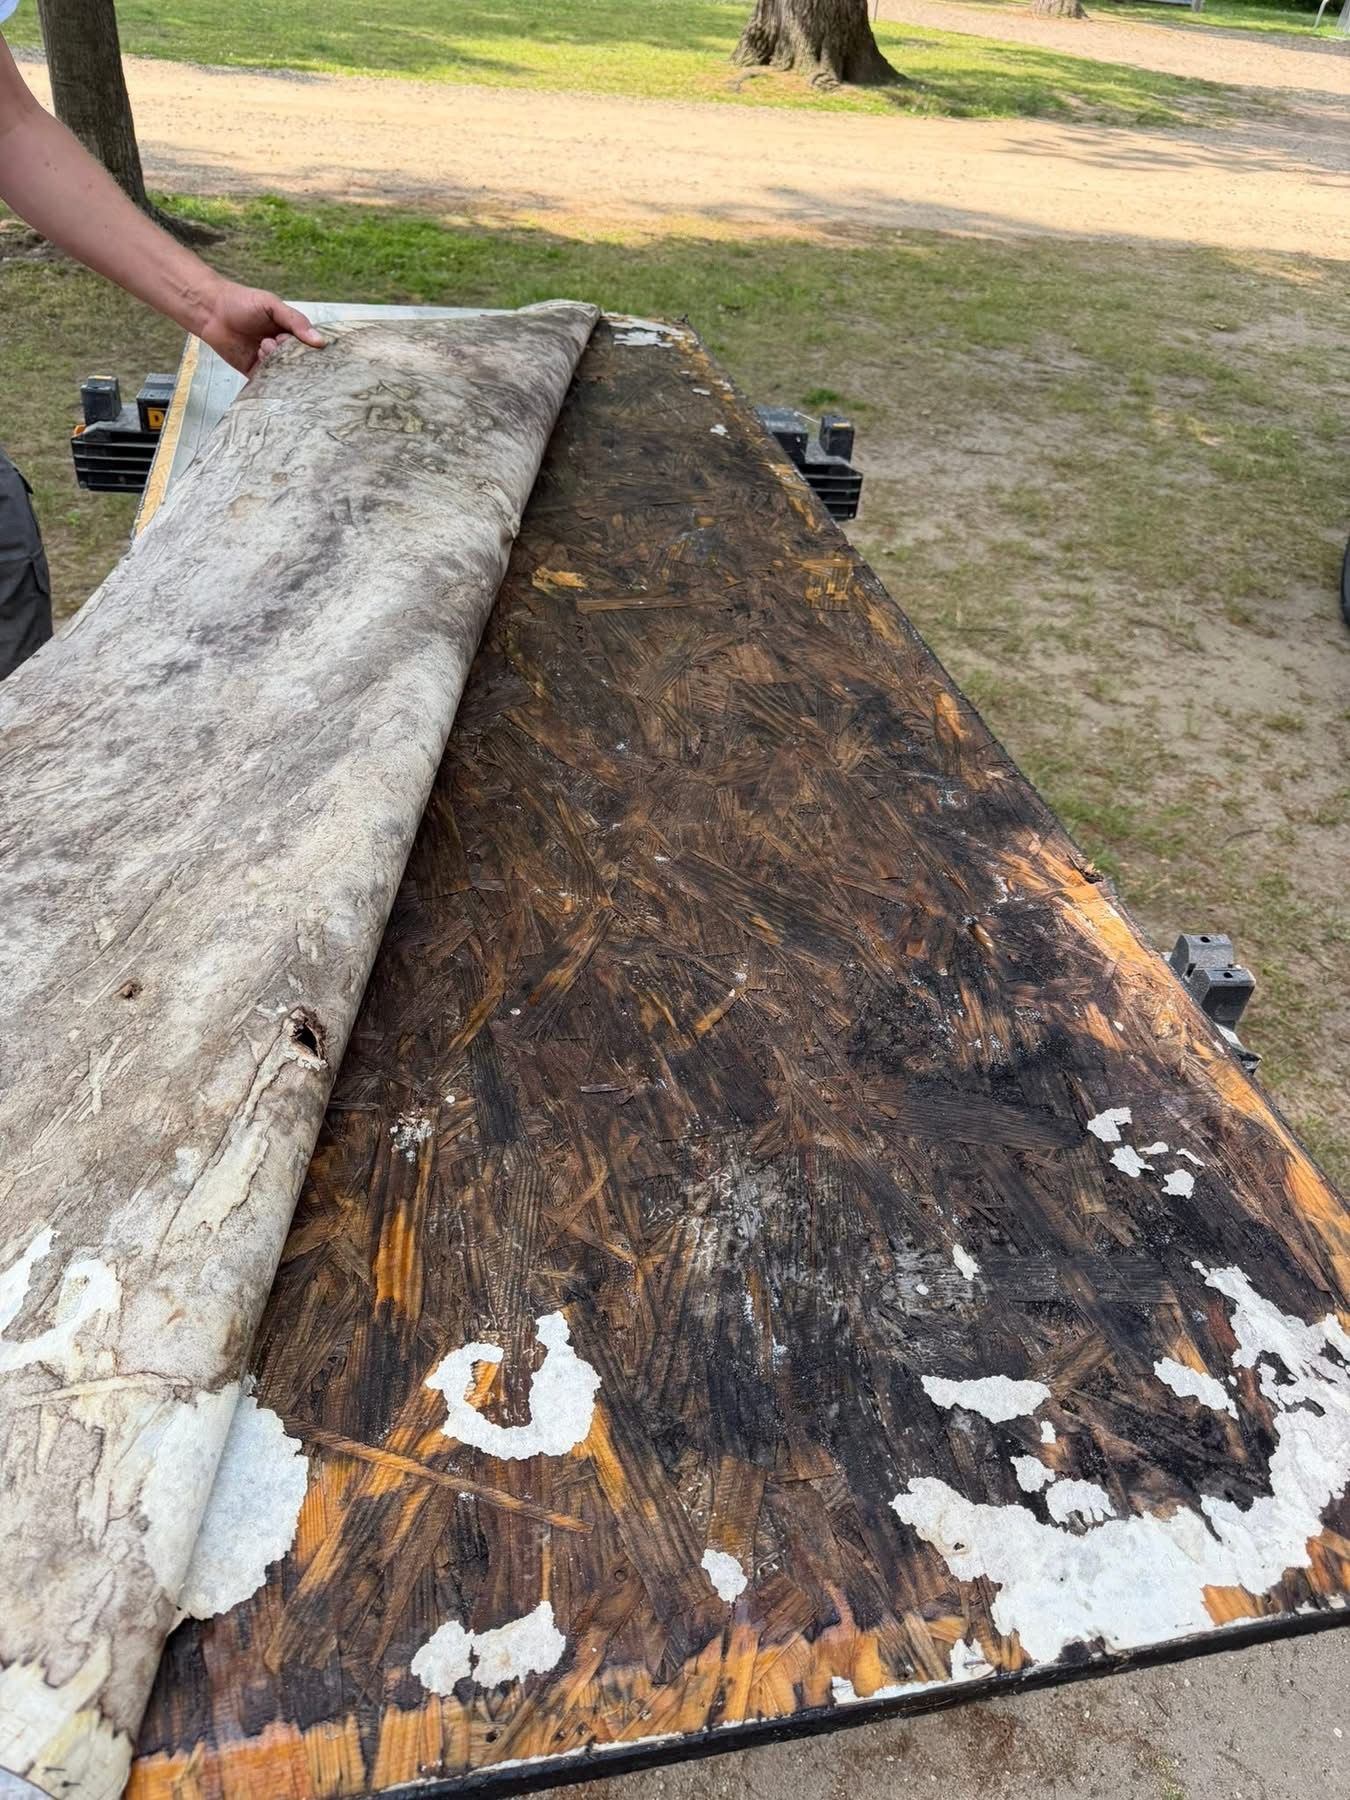
Step near the slide opening and feel the floor give slightly underfoot. That is not a cosmetic issue you can watch for another year and deal with later. Wet plywood keeps absorbing, the rot spreads outward along the grain, and eventually the screws holding the outer wall flange lose their grip on wood that no longer holds anything.
The repair only gets larger and more expensive from there. Catching it while the damage still sits within one section of decking is what keeps this from becoming a structural rebuild.
✓ Full extent of rot mapped before quoting
✓ Soft decking cut out and replaced
✓ Leak path corrected, not just covered
✓ Seals renewed and slide adjusted
RV SLIDEOUT FLOORS
SLIDES LEAK AT THE BOTTOM CORNERS FIRST.
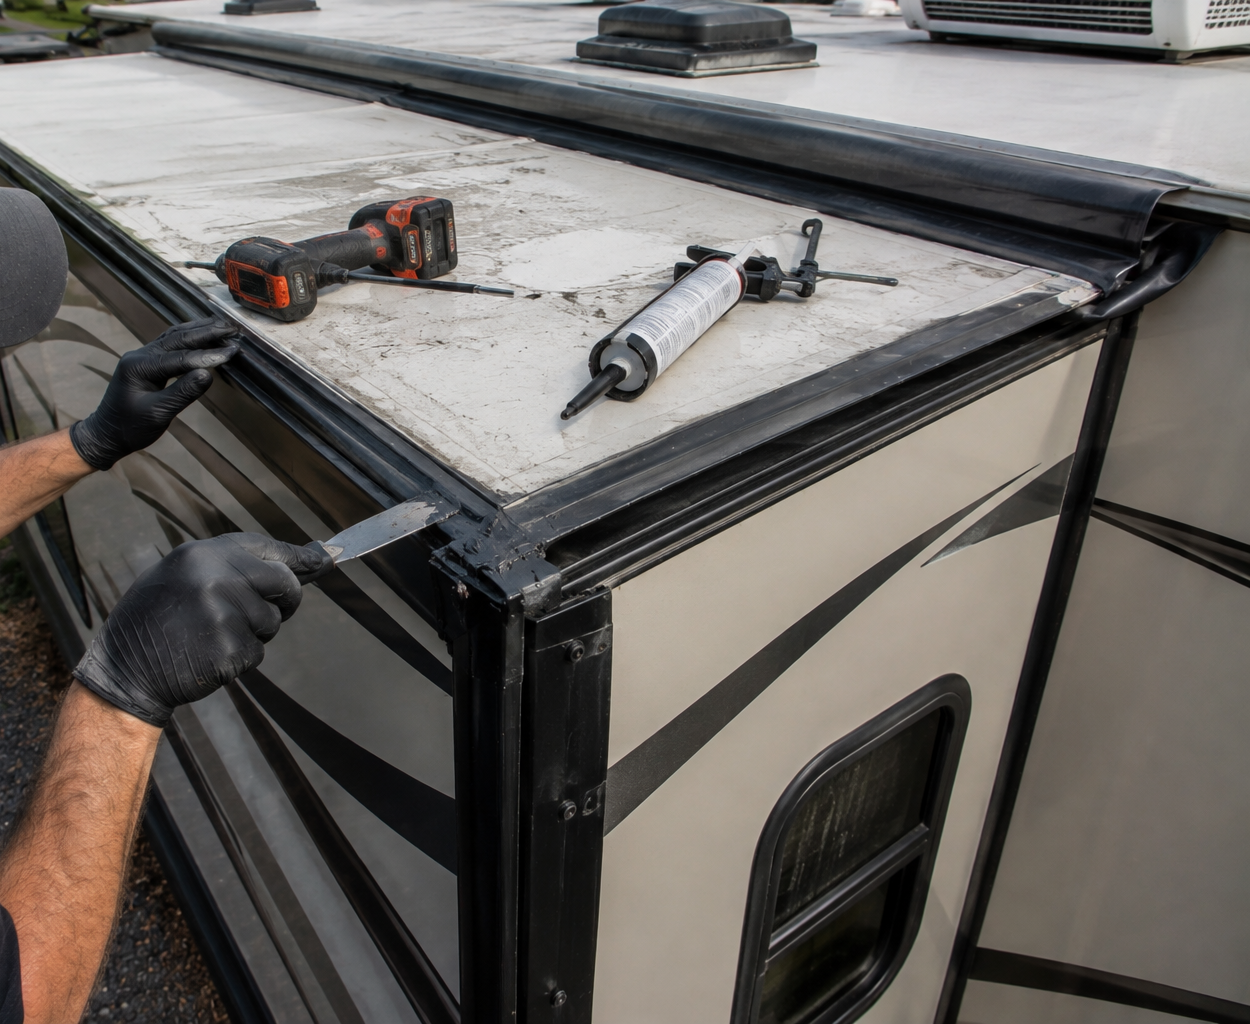
Watch a slide come in during rain sometime. Water sheets off the top, runs down the sides, and collects exactly where the bottom corners meet the sidewall. If the wiper seal has hardened, the bulb seal has flattened, or the slide sits slightly out of adjustment, that water goes straight into the exposed edge of the floor. Owners see a stain months later and blame the roof. That corner has usually been feeding it all along.
WET SPRINGS PUNISH A TIRED SLIDE SEAL.
Coldwater sees measurable precipitation on roughly 103 days a year, much of it in the months when rigs come out of storage. Seals that dried and cracked over winter meet weeks of rain, and every extension and retraction drags grit across them. That combination is why slide floor repairs cluster in spring around Branch County, and why we check seal condition on every rig that comes through the shop.
ROT NEVER STOPS WHERE YOU CAN SEE IT.
The visible damage is the smallest part of what is happening. Water travels along the plywood core well past the stain, so probing the surrounding area is the only way to know what actually needs to come out. In 10 years of RV work, the repairs that failed early were the ones where somebody stopped cutting too soon. We would rather find the whole thing now.
WHAT A REBUILT SLIDE FLOOR RETURNS
A FLOOR THAT FEELS SOLID
Walking across the slide opening without that unsettling flex is the obvious result. Solid decking also holds the fasteners that keep the outer wall properly aligned with the room.
AN END TO THE MUSTY SMELL
Wet plywood and damp insulation produce an odor that no amount of cleaning removes. Taking out the saturated material takes the smell with it rather than covering it up.
SLIDES THAT MOVE PROPERLY
A sagging floor drags on the opening and puts strain on motors, gears, and cables. Restoring the structure lets the mechanism travel the way it was designed to instead of fighting the frame.
PROTECTION FOR THE SUBFLOOR
Rot that starts in a slide keeps spreading into the main floor if nothing stops it. Repairing the source keeps the damage inside one room rather than across the whole rig.
RENEWED WEATHER SEALING
New wiper and bulb seals restore the barrier that failed in the first place. Without that step, a perfect floor repair simply starts the same process over again next season.
CONFIDENCE AT RESALE
A soft slide floor is one of the first things a buyer or inspector finds. Documented repair work turns an obvious deduction into a straightforward answer during the sale.
WHAT WE REBUILD
OUR RV SLIDEOUT FLOOR WORK
Slide repairs run from a seal change to a full floor rebuild, and honest inspection decides which one you need. Here is what we take on for owners across Branch County.
INSPECTION
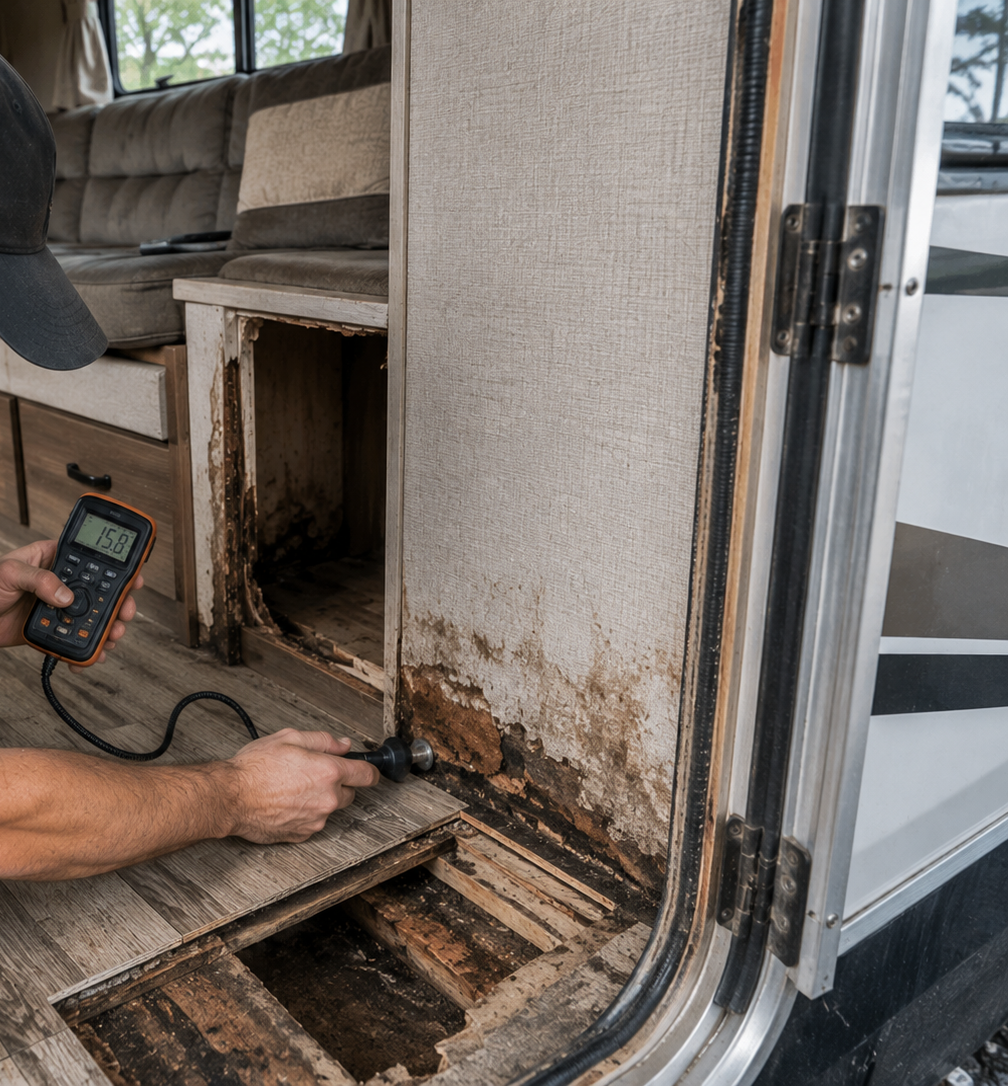
Rot and Moisture Assessment
We probe the floor, check the outer wall flange fasteners, and inspect the seals and slide roof for the entry path. Mapping the true extent of the damage comes before any estimate is written.
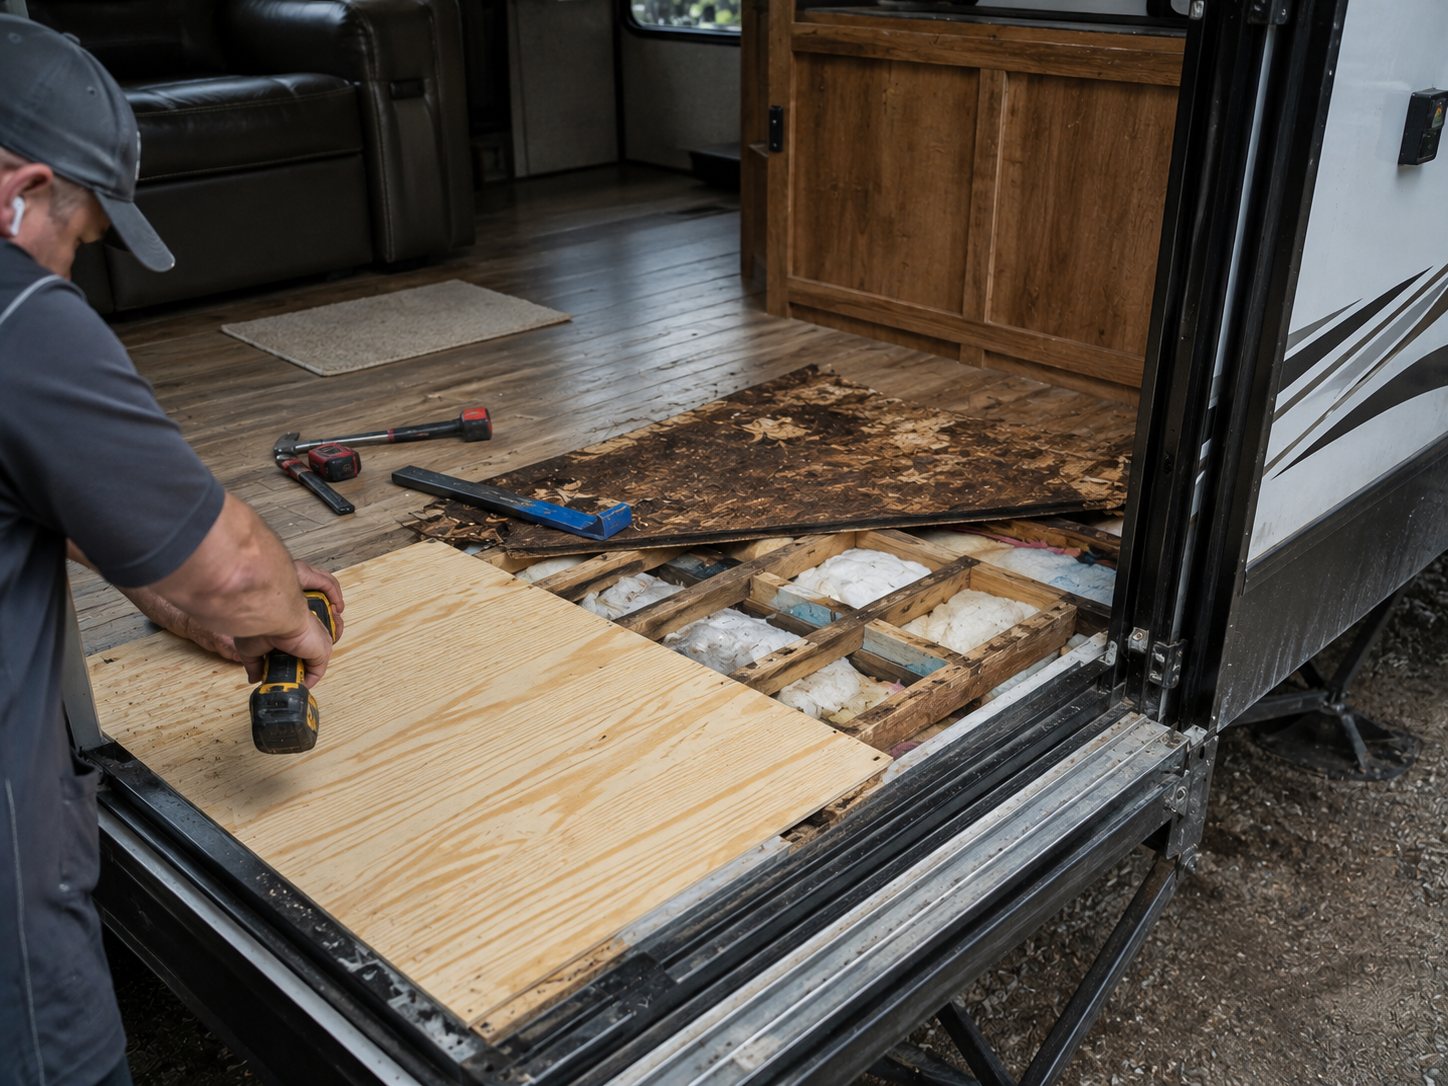
FLOOR REBUILD
Slideout Floor Replacement
Soft decking is cut back to sound material and replaced with properly fastened plywood rather than patched from above. Flooring, insulation, and trim are restored so the finished room looks original.
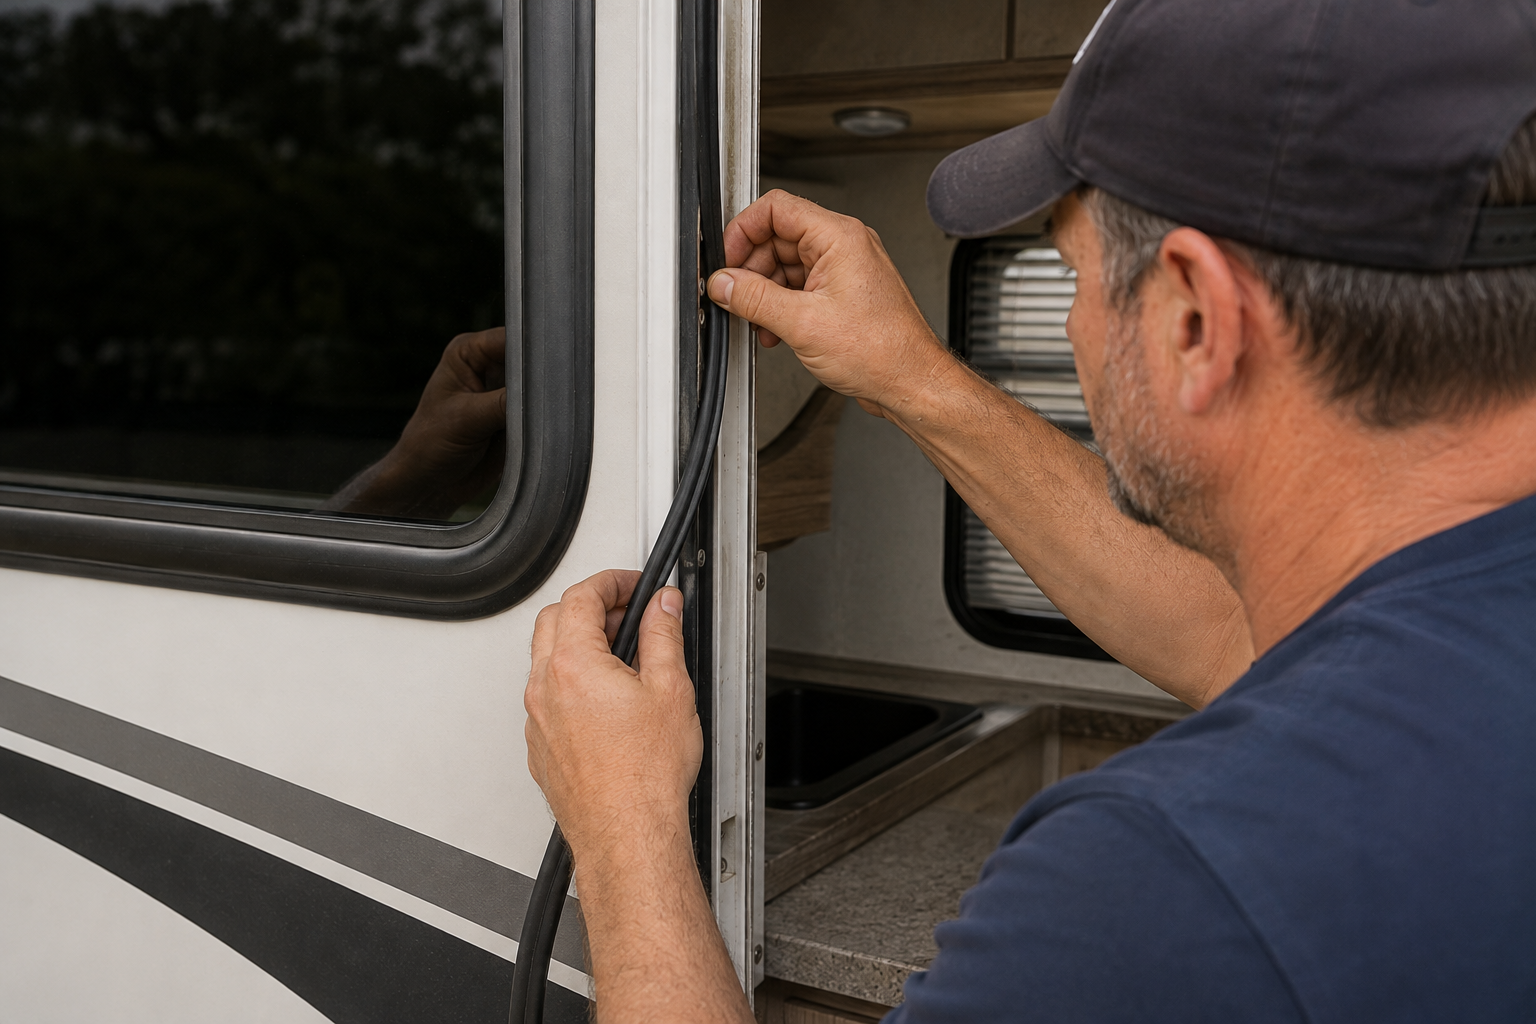
SEALS
Wiper and Bulb Seal Replacement
Hardened wipers and flattened bulb seals stop sealing long before they look worn out. We replace them with the correct profile, then clean and condition the rubber so it stays flexible.
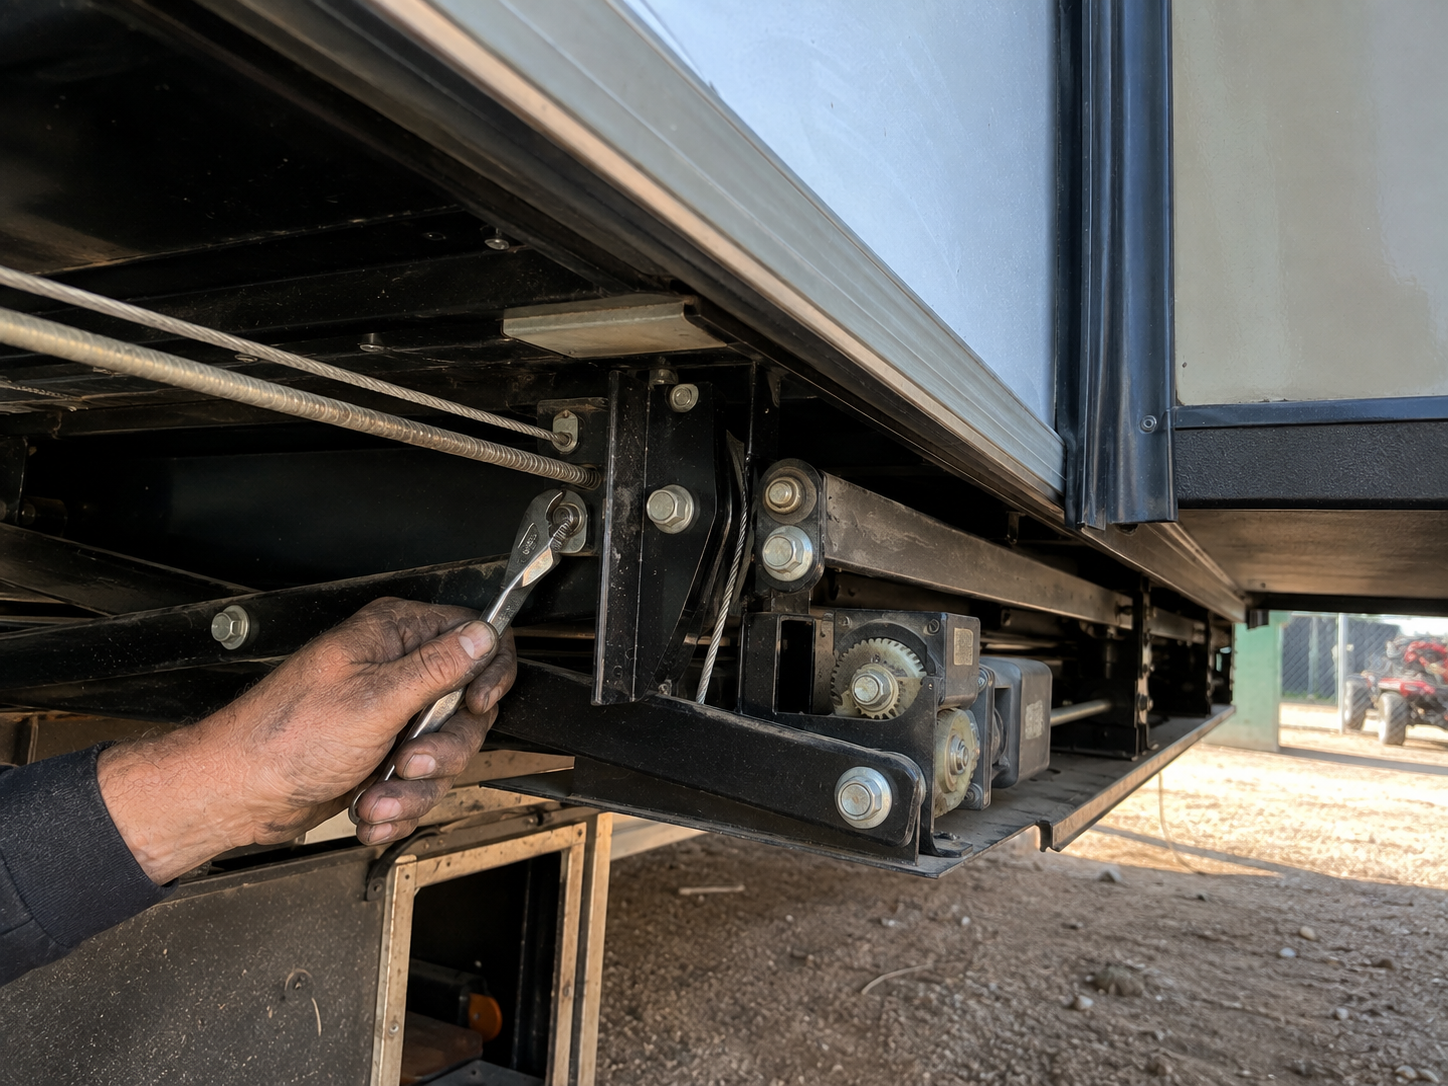
MECHANISM
Slide Mechanism Adjustment and Repair
Rooms that sit crooked, bind on the opening, or refuse to move usually need adjustment, retiming, or worn gear and cable components replaced. A properly aligned slide also seals far better against weather.
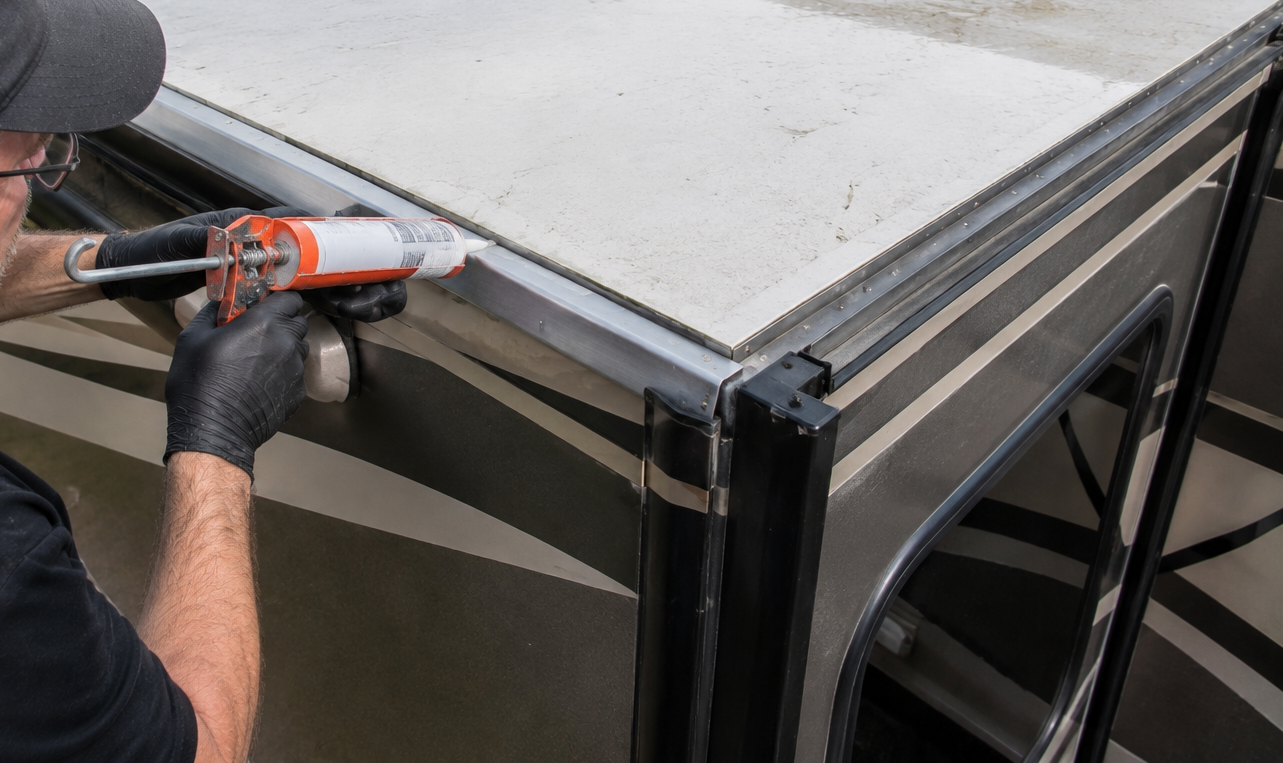
LEAK PATH
Slide Roof and Flashing Repair
Fixing the floor without fixing the water source guarantees a repeat visit. We reseal the slide roof, correct flashing at the lower corners, and address the standing water that started everything.
TOPPERS
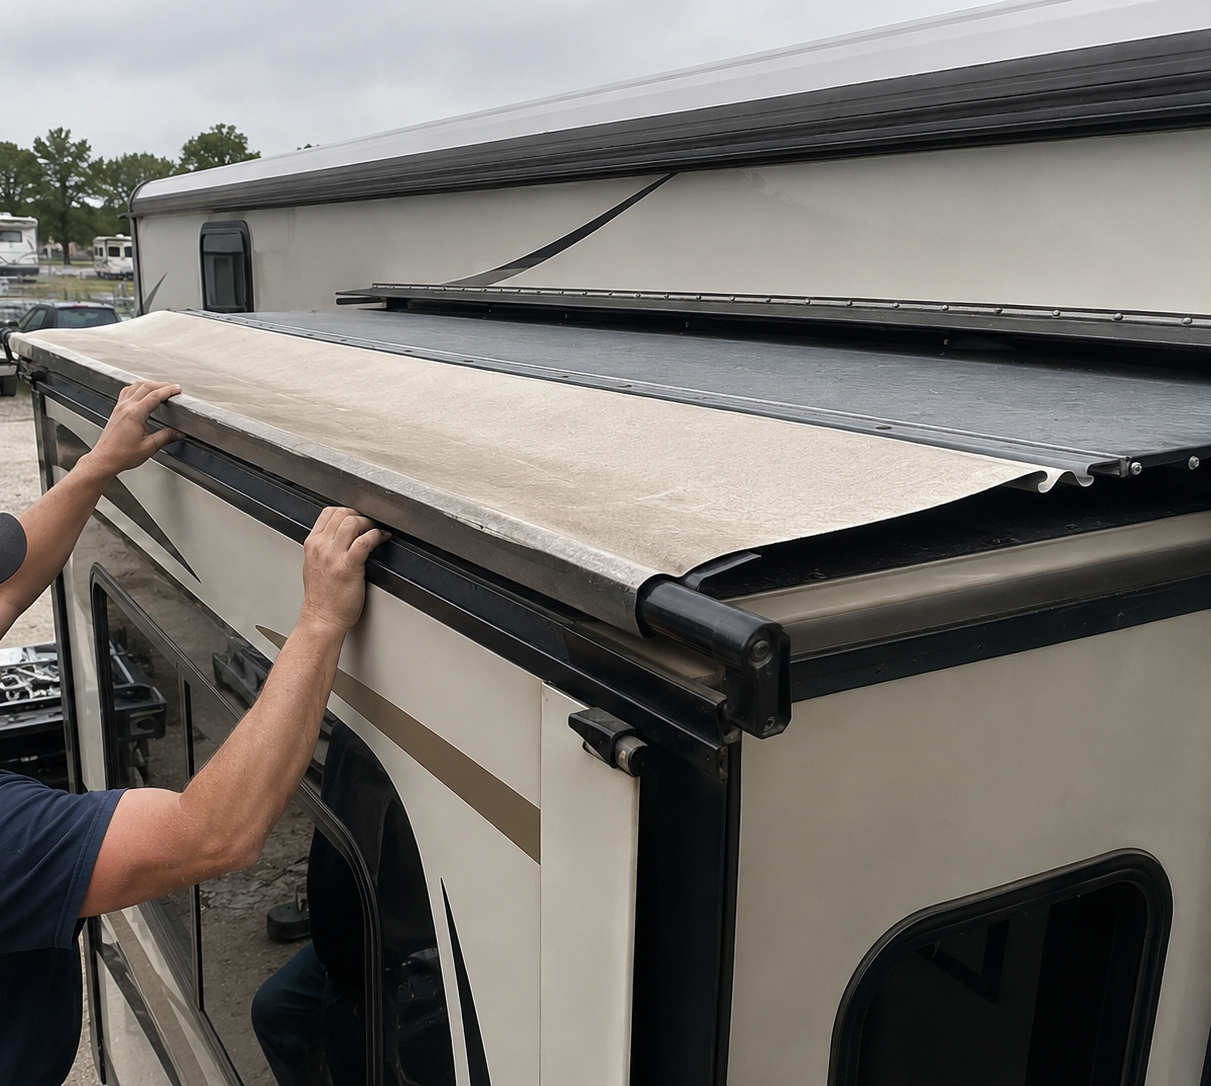
Slide Topper Inspection and Replacement
Toppers keep rain, snow, and debris off the slide roof and shade the seals from ultraviolet damage. Fabric that has stretched, split, or pools water gets replaced before it causes another leak.
Common Questions
FREQUENTLY ASKED QUESTIONS.
Slide problems generate a lot of questions, partly because the mechanism and the structure around it fail in ways that look very similar from inside the rig.
What causes an RV slide out floor to rot?
Water entering past worn wiper or bulb seals, a misaligned room that never seals fully, standing water on the slide roof, and poor flashing at the lower corners are the main causes Meier RV Repair LLC finds on rigs in Coldwater, Michigan.
How do I know if my slide out floor is rotten?
Look for a spongy feel underfoot, a visible dip near the opening, cracking or lifting flooring, a persistent musty smell, and screws backing out of the outer wall flange. Any one of those symptoms warrants a proper inspection before it spreads.
Why is my slide out leaking when it rains?
The usual causes are hardened seals, a room out of adjustment, a sagging topper holding water, or failed sealant where the slide roof meets the sidewall. Each of those has a different fix, so identifying the right one matters before any repair.
How often should slide out seals be replaced?
Untreated rubber typically dries out and cracks within a few years, so inspect the seals annually and treat them with a proper silicone conditioner. Replacement follows their condition rather than a set schedule, but neglected seals always fail fastest.
What is the difference between a bulb seal and a wiper seal?
Wiper seals flex with the room as it travels and block water during movement. Bulb seals compress against the slide when it is closed to form the watertight barrier. Both matter, and both tend to fail in different ways.
What is RV delamination?
Delamination is the bond failing between the outer fiberglass skin and the lightweight backing behind it, showing as bubbles, waves, or soft areas. Water intrusion accelerates the process, which is why delamination so often accompanies an ongoing slide leak.
Why is my slide out crooked or out of sync?
In wall systems keep both sides parallel by counting motor revolutions, and that reference is lost when a room is not run fully out and fully in. Worn gears, damaged tracks, and loose wiring will also cause the same symptom.
Should I leave my slides in or out for winter storage?
Bring them in for winter storage. Retracted slides keep snow and standing water off the slide roof and topper, reduce seal exposure, and cut what has to be cleared. Meier RV Repair LLC recommends that across Coldwater, Michigan.
HOW WE WORK
FROM SOFT SPOT TO SOLID FLOOR, HERE IS HOW.
STEP 01
Map the damage
We extend the room, probe the floor across its full area, and check the flange fasteners for grip. Knowing exactly how far the rot travels is what makes the estimate accurate rather than optimistic.
STEP 02
Find the water source
Seals, slide roof, topper, and flashing are all inspected carefully to identify where the water is entering. Repairing a floor without closing off that path simply schedules the same job again next year.
STEP 03
Quote both parts of the job
You get a written estimate covering the structural repair and the leak correction as two separate items. That way you can see what protects the repair rather than wondering what the total covers.
STEP 04
Remove the compromised material
Soft plywood, saturated insulation, and damaged flooring all come out until only sound material remains. Cutting to the edge of the damage rather than past it is what causes rebuilds to fail early.
STEP 05
Rebuild and reseal
New decking is fitted and fastened, insulation and flooring are restored, and the seals and flashing that failed get replaced. The room then goes back together to work correctly and to look right.
STEP 06
Cycle, adjust, and water test
The slide is run through its full travel, adjusted for even movement and proper seal contact, then water tested at the corners. You get photographs of the whole rebuild along with the paperwork.
GET YOUR REPAIR ESTIMATE
REBUILD THE FLOOR WHILE IT IS STILL JUST A FLOOR.
Tell us where the floor feels soft and what you have noticed during rain through our contact page. We will explain what inspection involves and how quickly we can look at the room before it spreads further.
WHAT YOUR REBUILD COVERS:
✓ Full probing to map the rot
✓ The water entry path identified
✓ Soft decking cut out and replaced
✓ Insulation and flooring restored
✓ Wiper and bulb seals renewed
✓ Slide cycled, adjusted, and water tested