RV Roof Replacement
RV ROOF REPLACEMENT in Branch County, MI
A rubber RV roof lasts 10 to 15 years and TPO closer to 20, but the plywood beneath fails far sooner once a seam opens. Meier RV Repair LLC handles RV roof replacement in Coldwater and throughout Branch County, MI, stripping the old membrane, replacing rotted decking, and resetting every rooftop component and gasket. Estimates begin on our contact page.
A ROOF REPLACEMENT IS A FLOOR SAVER.
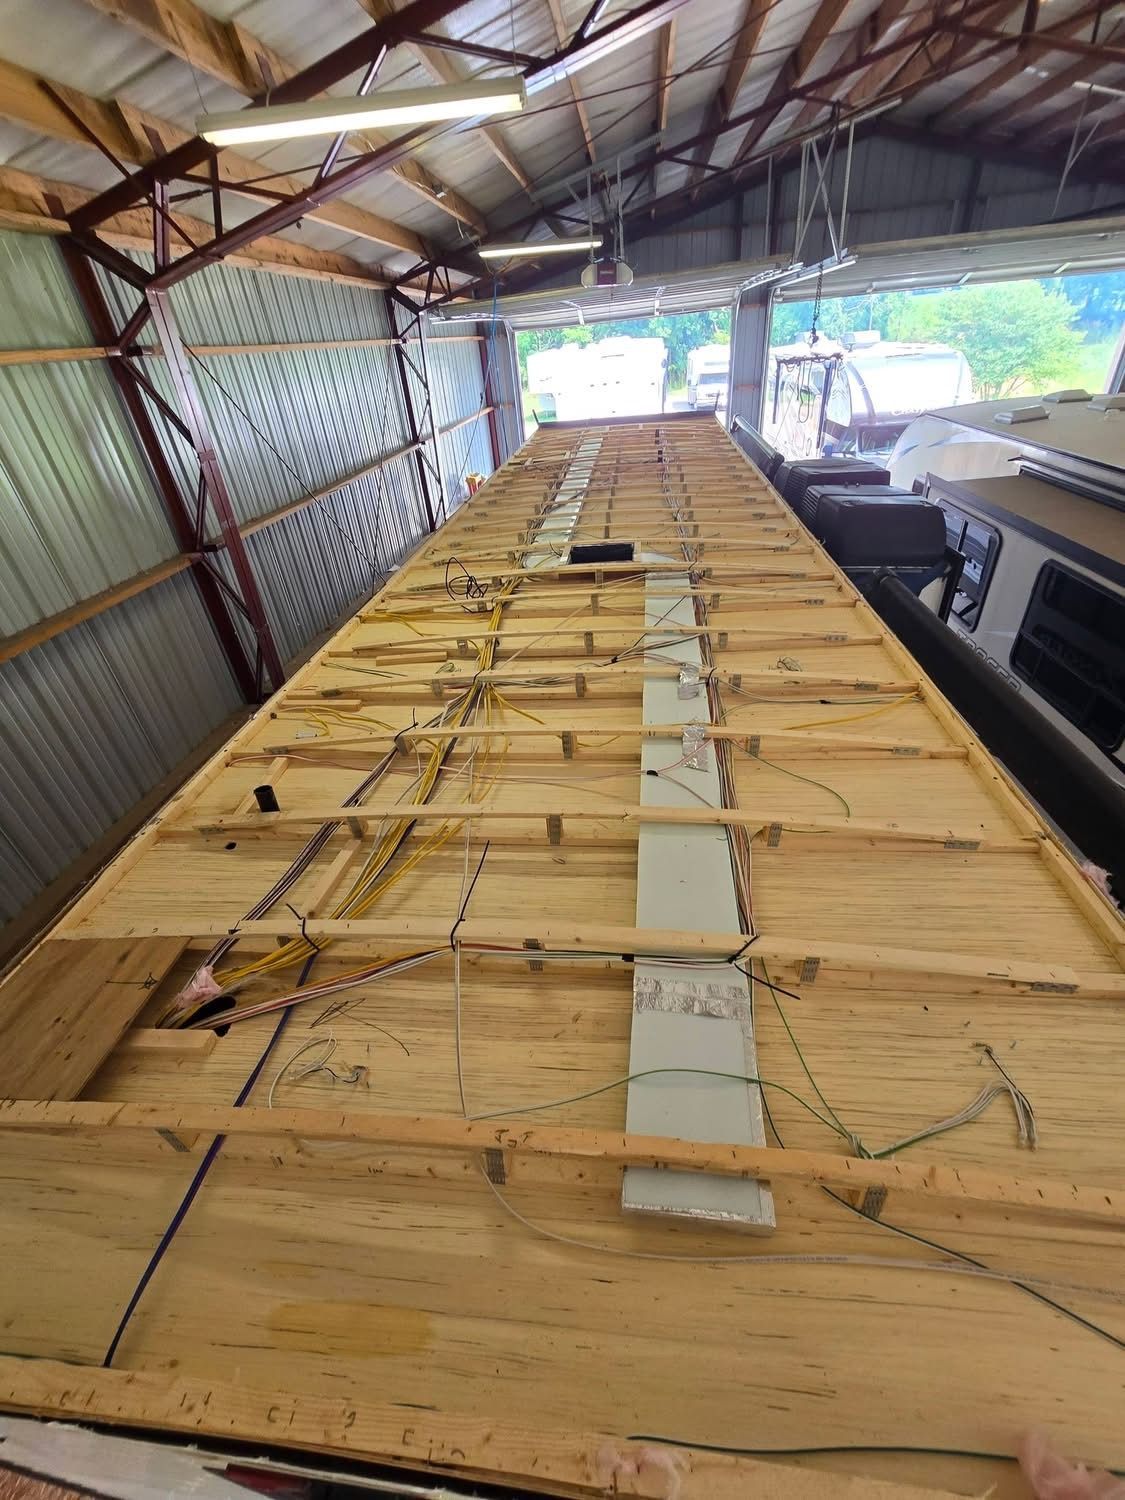
By the time a roof needs replacing, the question is no longer about the roof. It is about how much of the decking, insulation, and ceiling panel came along with it. That is why we open the membrane first, probe the plywood, and tell you what we actually found before ordering material for the job.
Nobody enjoys hearing that a rig needs a new roof. What owners appreciate is knowing the number before work starts and seeing photographs of the decking that justified it.
✓ Membrane removed, decking inspected honestly
✓ Rotted plywood replaced, not covered over
✓ EPDM and TPO membranes installed to specification
✓ Every rooftop component reset and resealed
RV ROOF REPLACEMENT
TEAR-OFF DAY IS WHEN THE TRUTH SHOWS UP.
Nobody can price hidden damage from the ground. Air conditioners, vents, antennas, and skylights come off, the old membrane peels back, and only then does the condition of the decking become visible. Sometimes the plywood is dry and the job runs exactly as quoted. Sometimes a section of 3/8-inch sheeting crumbles at the edge of a rafter and the scope grows. We photograph that moment and call you before any additional work begins.
SNOW LOAD FINDS THE WEAK DECKING FIRST.
Around 27 inches of snow lands on Coldwater roofs across an average winter, and it sits there for months rather than sliding off. Wet decking that would hold in a dry climate flexes, delaminates, and separates from the rafters under that weight. Owners often discover the damage in April, when the ceiling panel sags and the trim no longer meets the wall. Replacing the substrate properly is what keeps that from repeating.
WE HAVE SEEN WHAT WAITING ANOTHER SEASON COSTS.
There is a version of this repair that involves one membrane and two sheets of plywood, and a version that involves the ceiling, the insulation, the upper cabinets, and the wall behind them. The difference is usually a single winter. Across 10 years of RV work, the rigs that came in early left cheaper and faster. Bring us the roof while the ceiling inside still looks fine.
WHAT A NEW ROOF PUTS BACK
STRUCTURAL CONFIDENCE
Fresh decking and a properly bonded membrane restore the layer that carries your air conditioner, vents, and anyone standing up there. The roof stops being the thing you worry about every time it rains.
A HARD STOP ON DAMAGE
Water travels sideways through plywood, so every month of delay widens the repair. Replacement draws a line under the damage and keeps the walls, cabinetry, and slideout floors out of the conversation.
YEARS BACK ON THE CLOCK
A new membrane resets the maintenance calendar rather than extending an argument with an old one. Depending on material, you are looking at another decade or two before this comes up again.
A CLEANER SELLING POSITION
Nothing kills an RV sale faster than a soft ceiling and a patched roof. Documented replacement work with photographs turns the roof from a liability into a selling point.
CORRECT ROOFTOP SEALING
Every vent, fan, skylight, and air conditioner comes off and goes back on with fresh gaskets and sealant. The penetrations that leaked before are rebuilt rather than sealed over again.
AN END TO PATCHING
Tape, patches, and yearly touch ups cost money and attention without ever solving the problem underneath. Replacement trades that recurring frustration for one scheduled repair with a known finish date.
WHAT WE REPLACE
OUR RV ROOF REPLACEMENT WORK
Replacement is a sequence, not a single task, and each stage affects what comes after it. Here is the work that goes into putting a new roof on a travel trailer, fifth wheel, or motorhome.
TEAR OFF
Old Membrane Removal
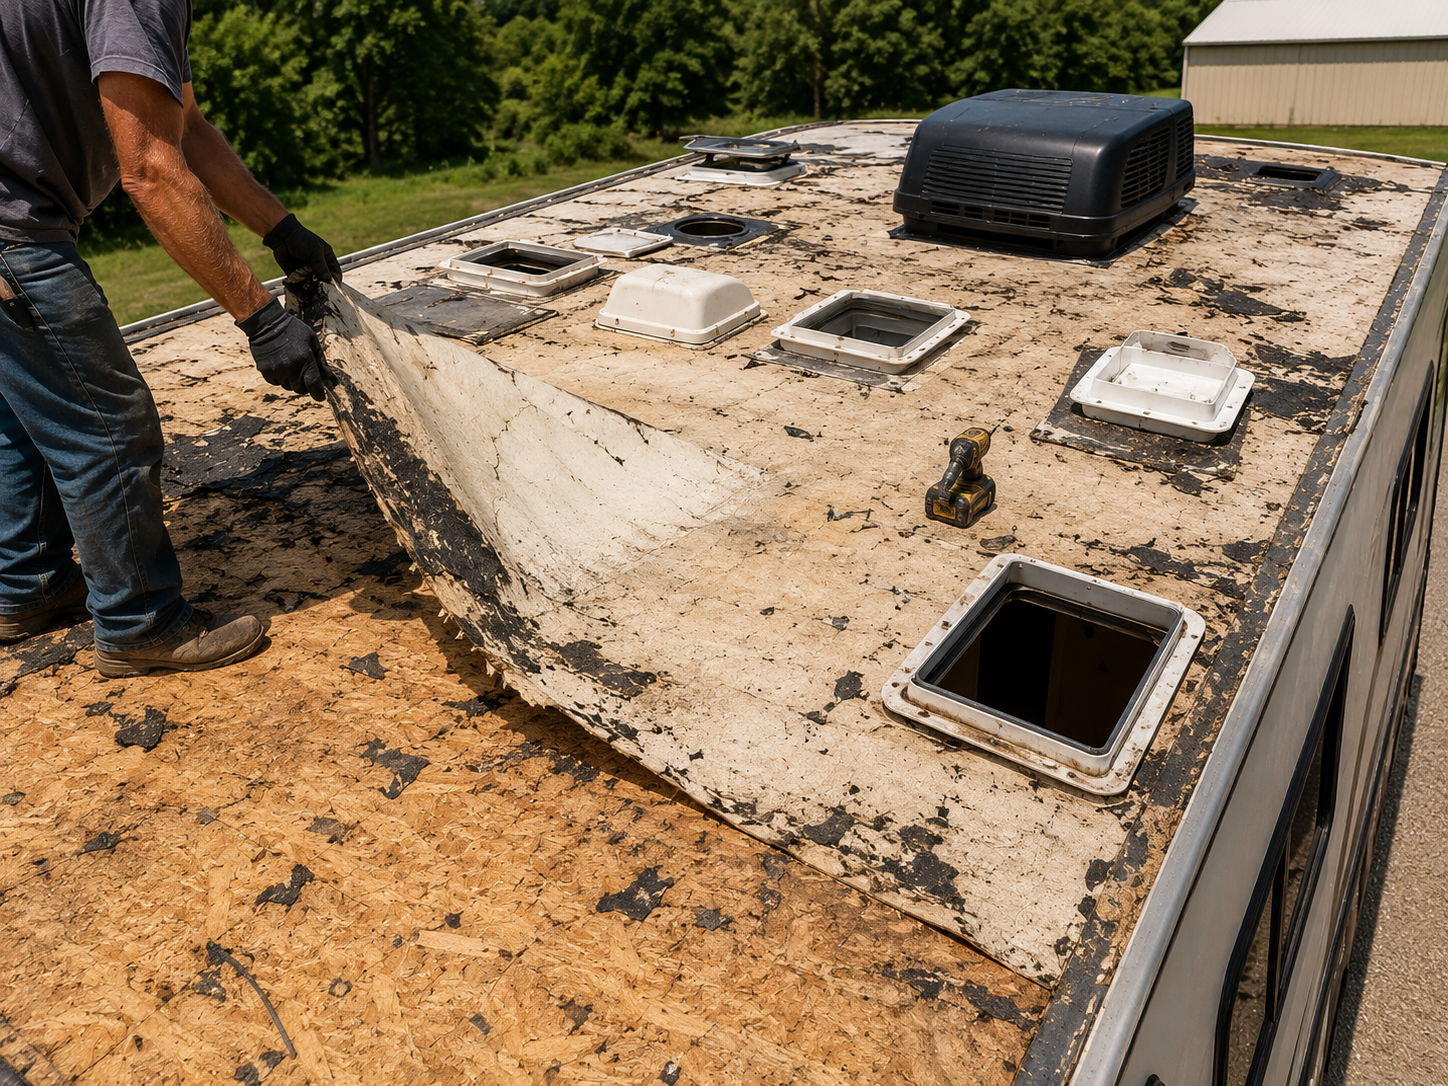
Everything mounted on the roof comes off first, then the failed membrane and its adhesive are stripped back to bare sheeting. Doing this carefully protects the decking we intend to keep and reveals exactly what needs replacing.
DECKING
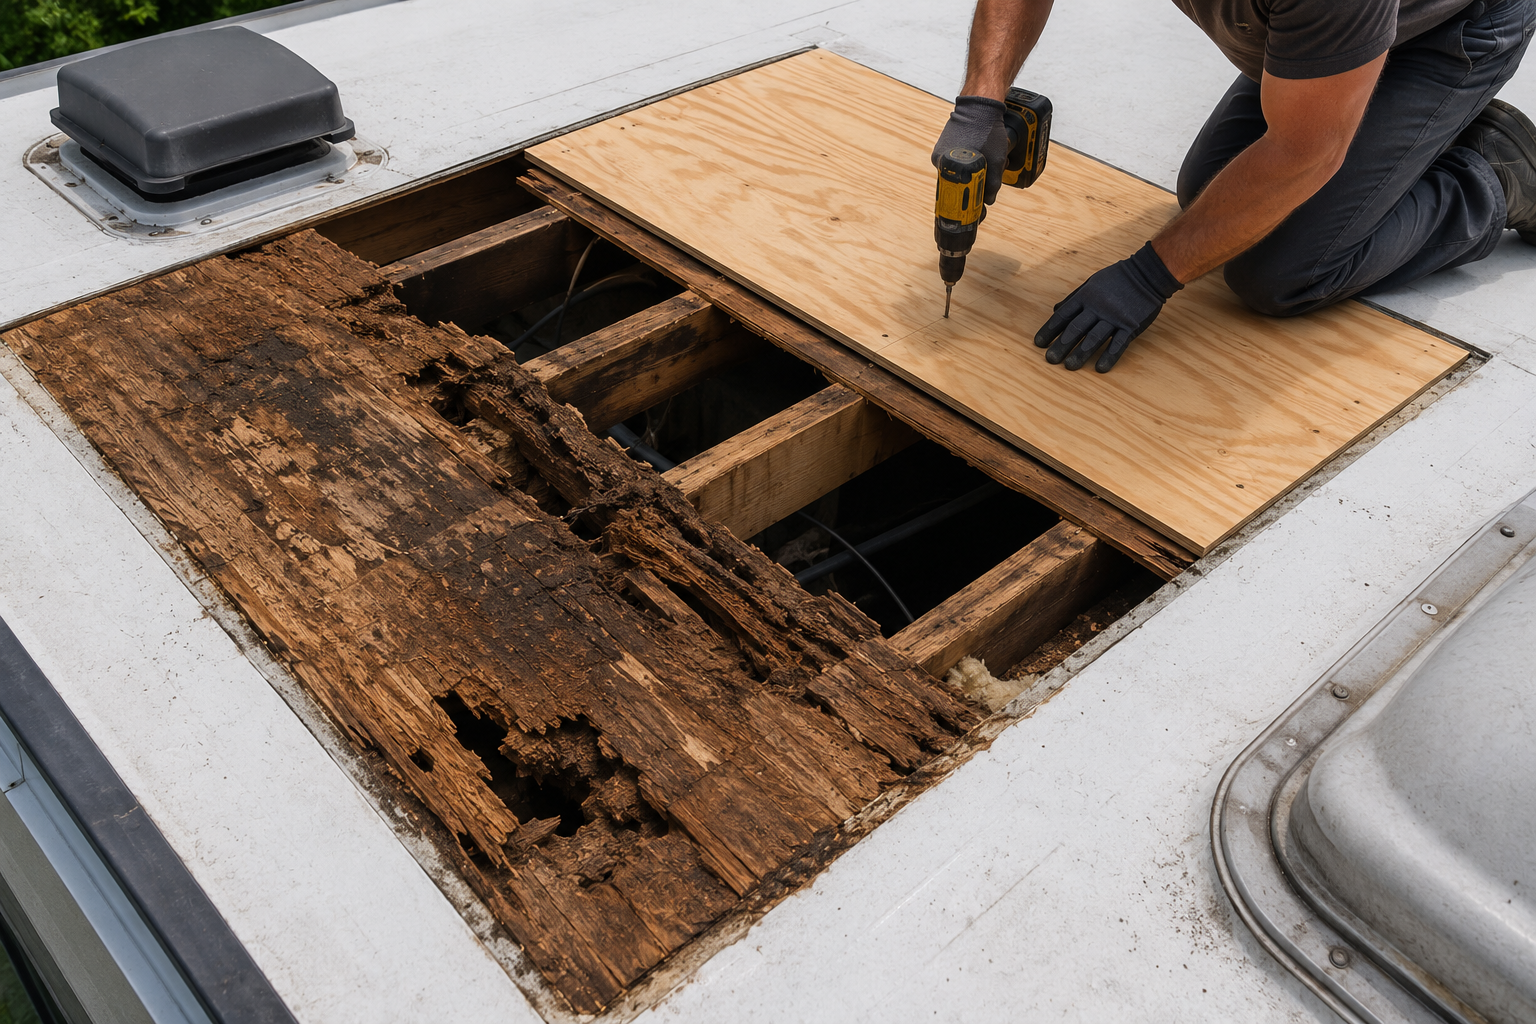
Rotted Decking Repair and Replacement
Soft plywood gets cut out and replaced with new sheeting fastened to the rafters, not patched over from above. We probe the whole surface, since rot spreads well past the stain you can see from inside.
EPDM
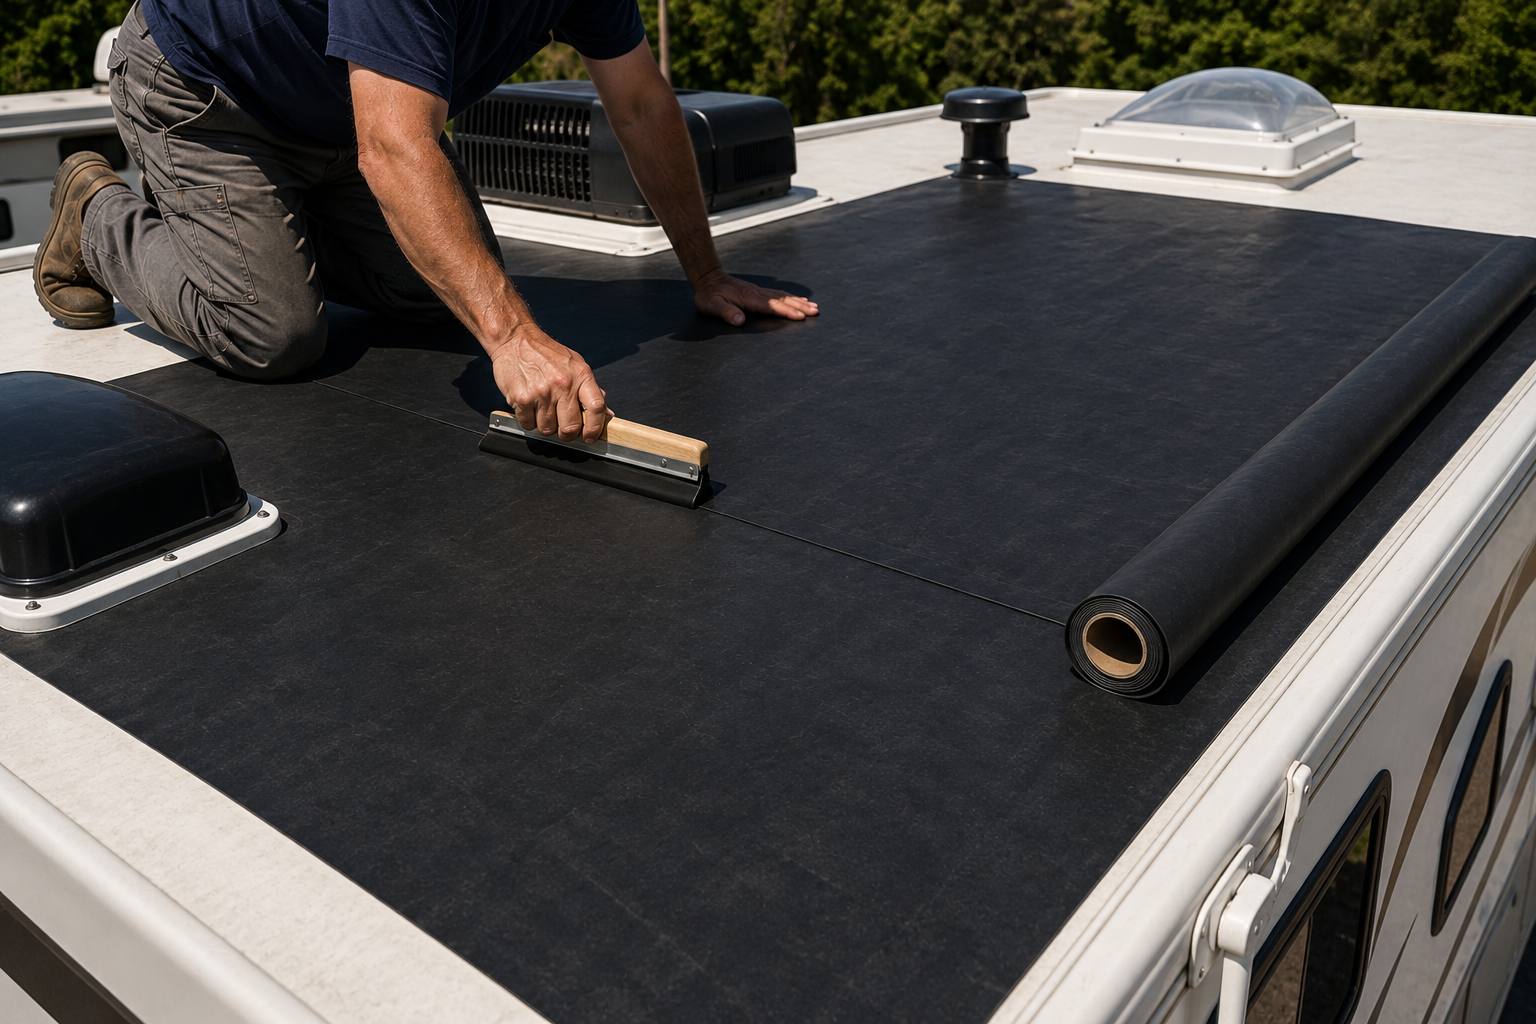
EPDM Rubber Roof Installation
Rubber membranes remain the most common original material and install with a water-based adhesive over a clean, dry substrate. We roll and squeegee out every wrinkle, because trapped air becomes a wear point within a season.
TPO
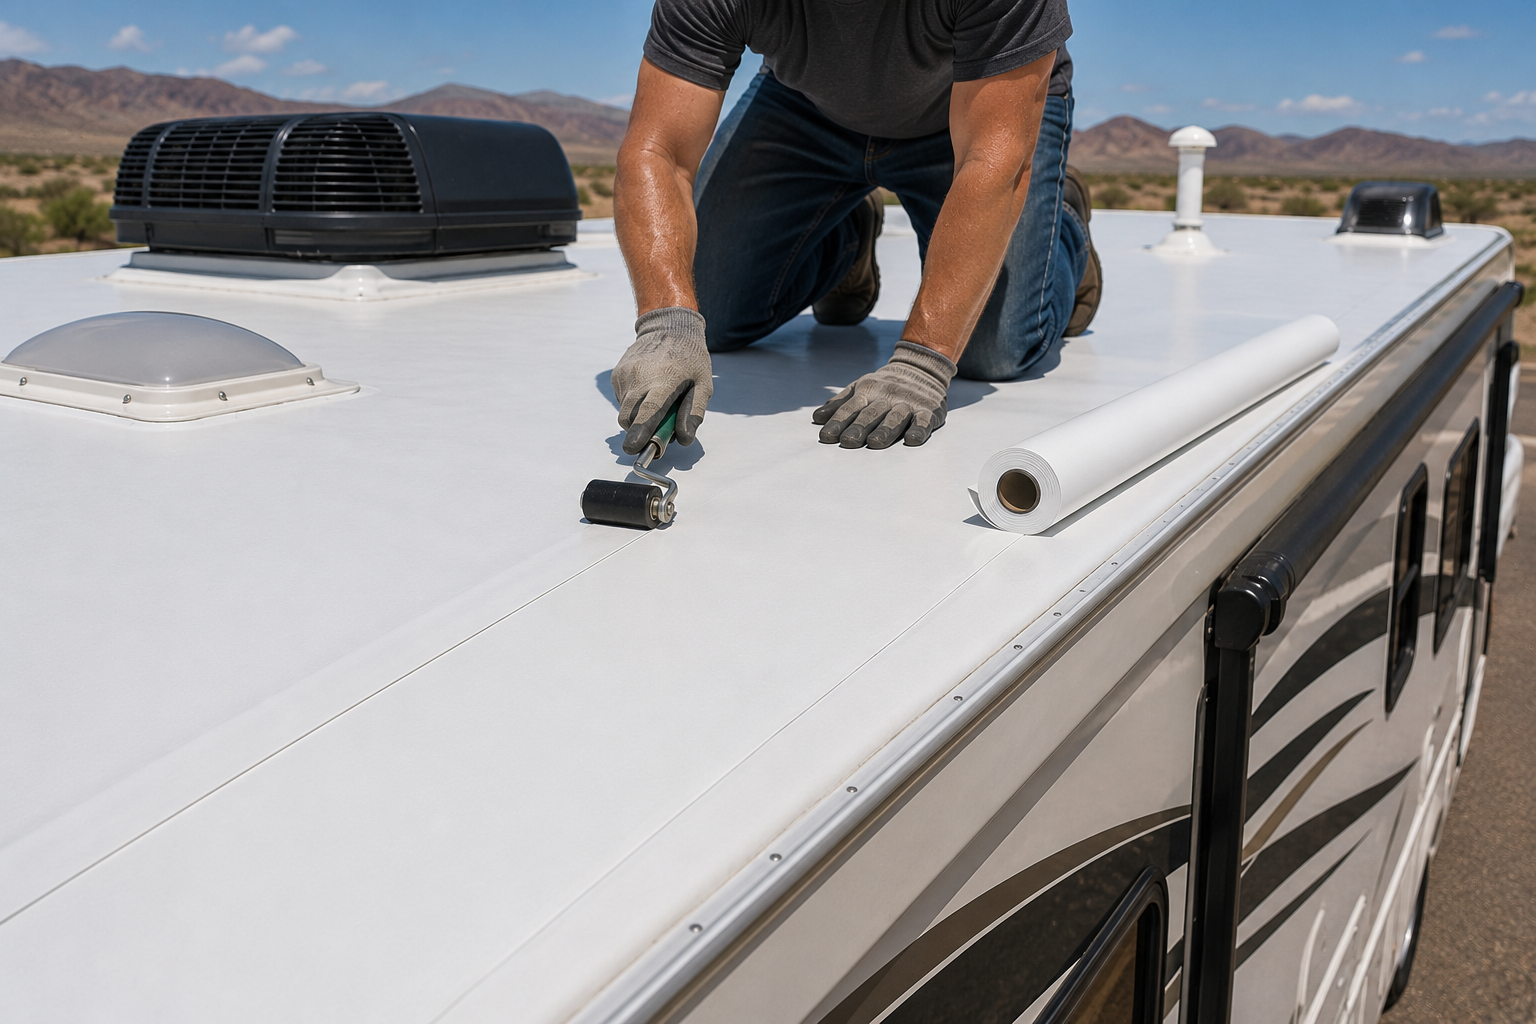
TPO Membrane Installation
TPO offers a tougher, walkable surface with a longer service life and a factory texture that hides scuffing. Installation demands the correct bonding adhesive and careful seam work, particularly around the front and rear caps.
PENETRATIONS
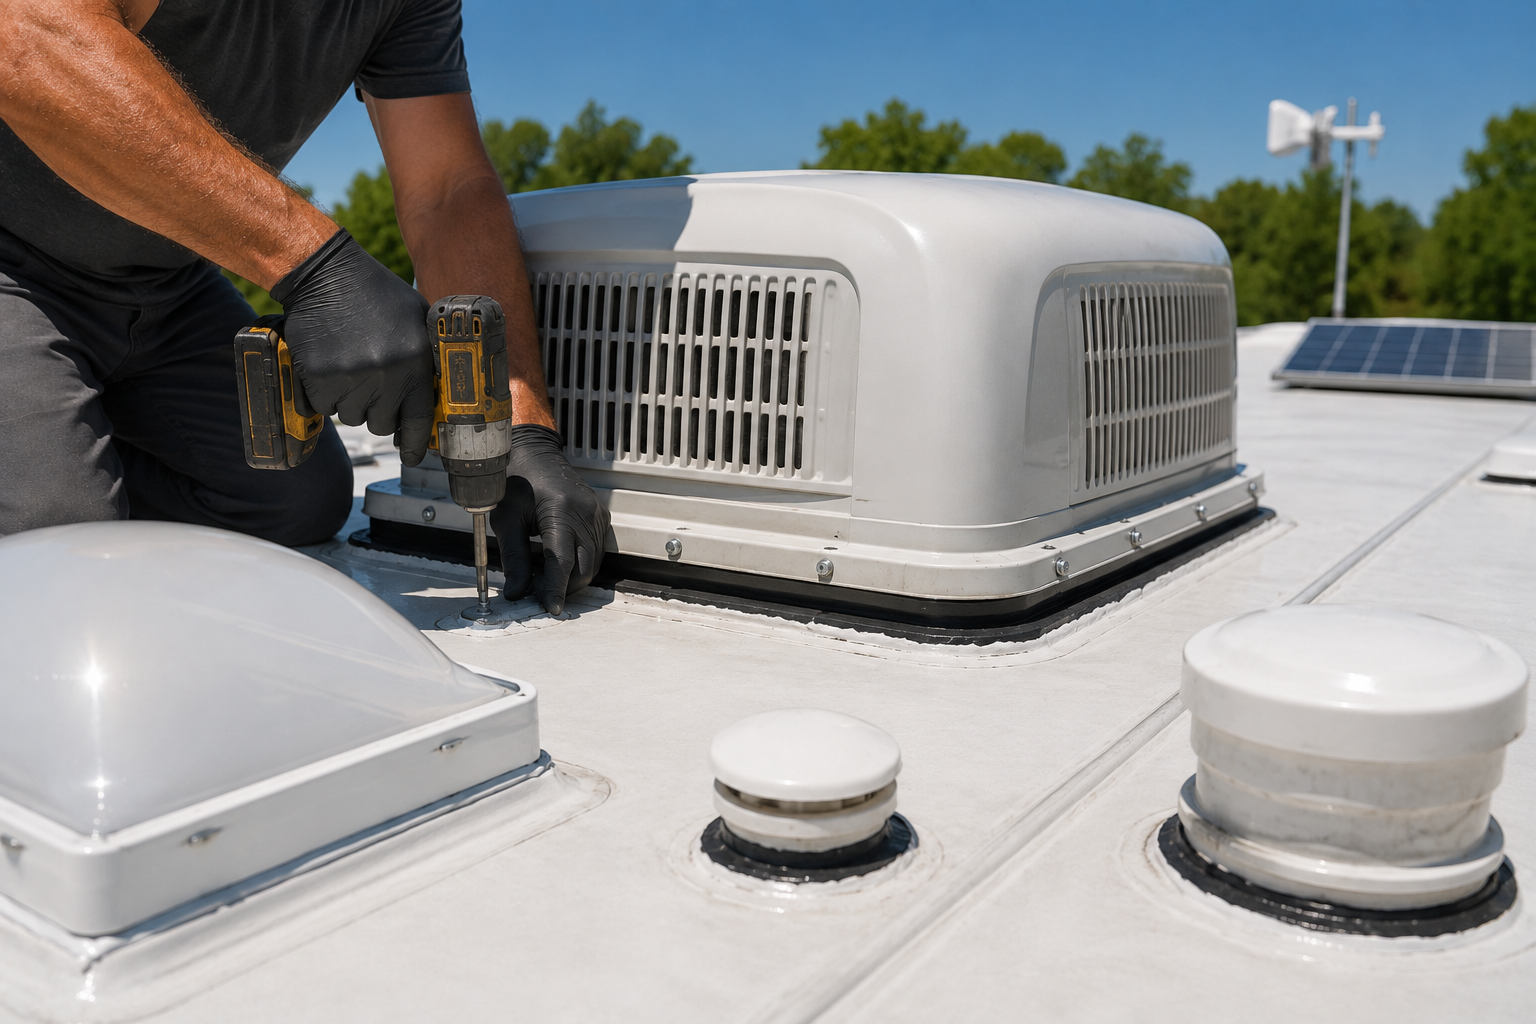
Rooftop Component Reinstallation
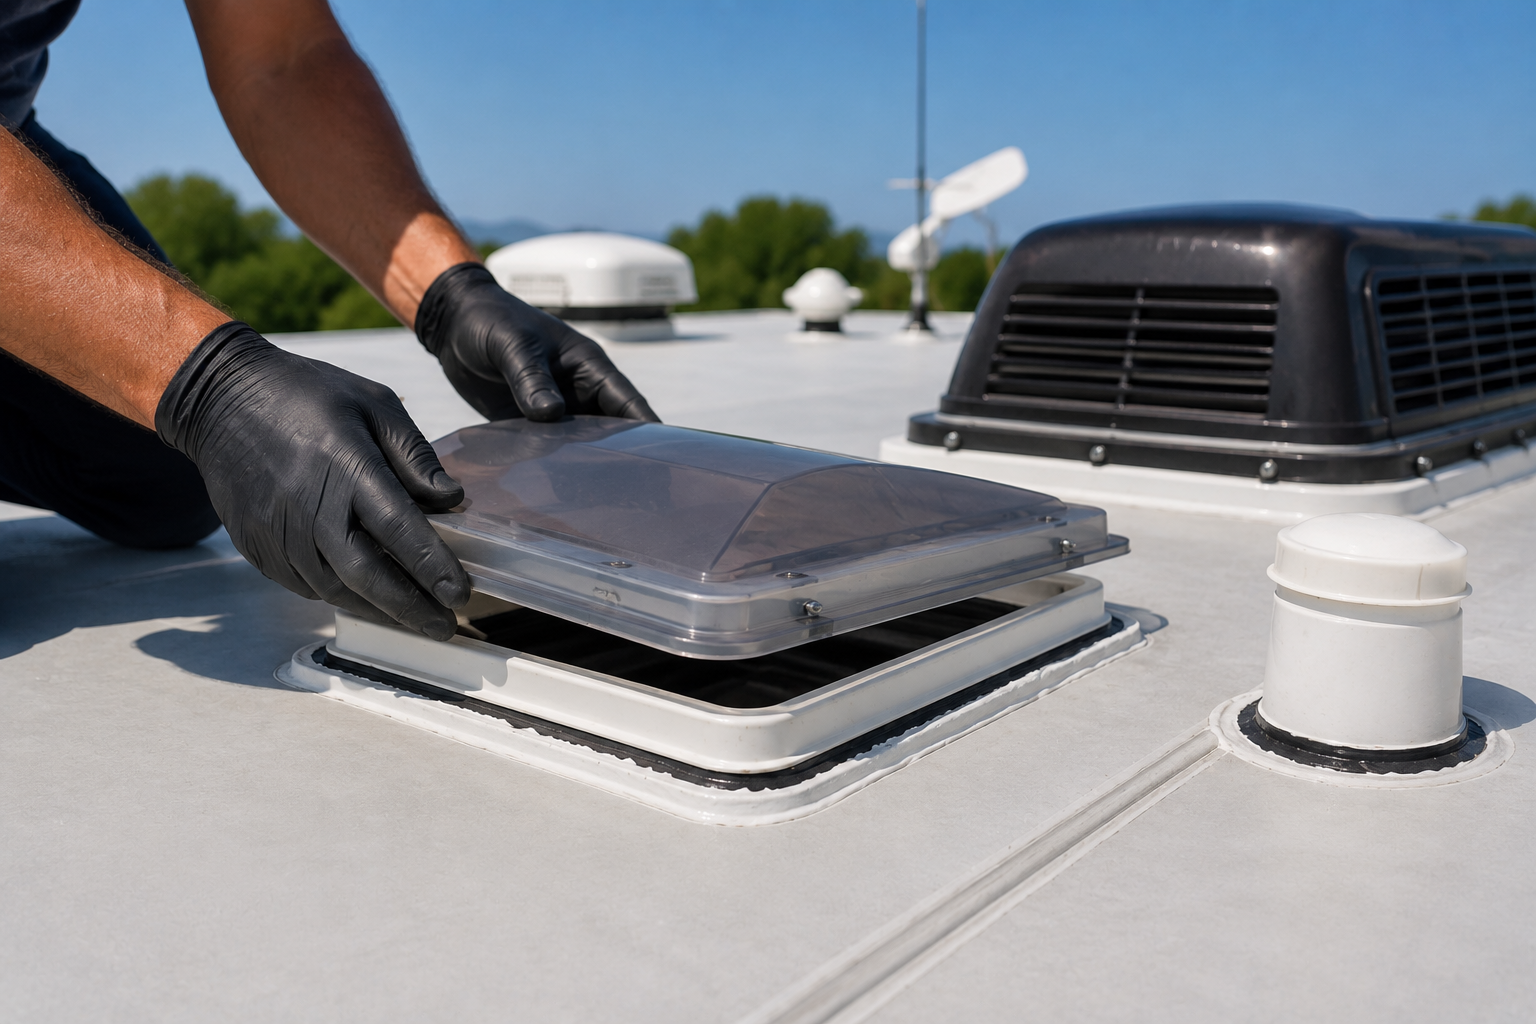
Air conditioners, fans, vents, skylights, antennas, and solar mounts all return with fresh gaskets, butyl tape, and sealant. Reusing a flattened gasket to save a few dollars is how a brand new roof starts leaking.
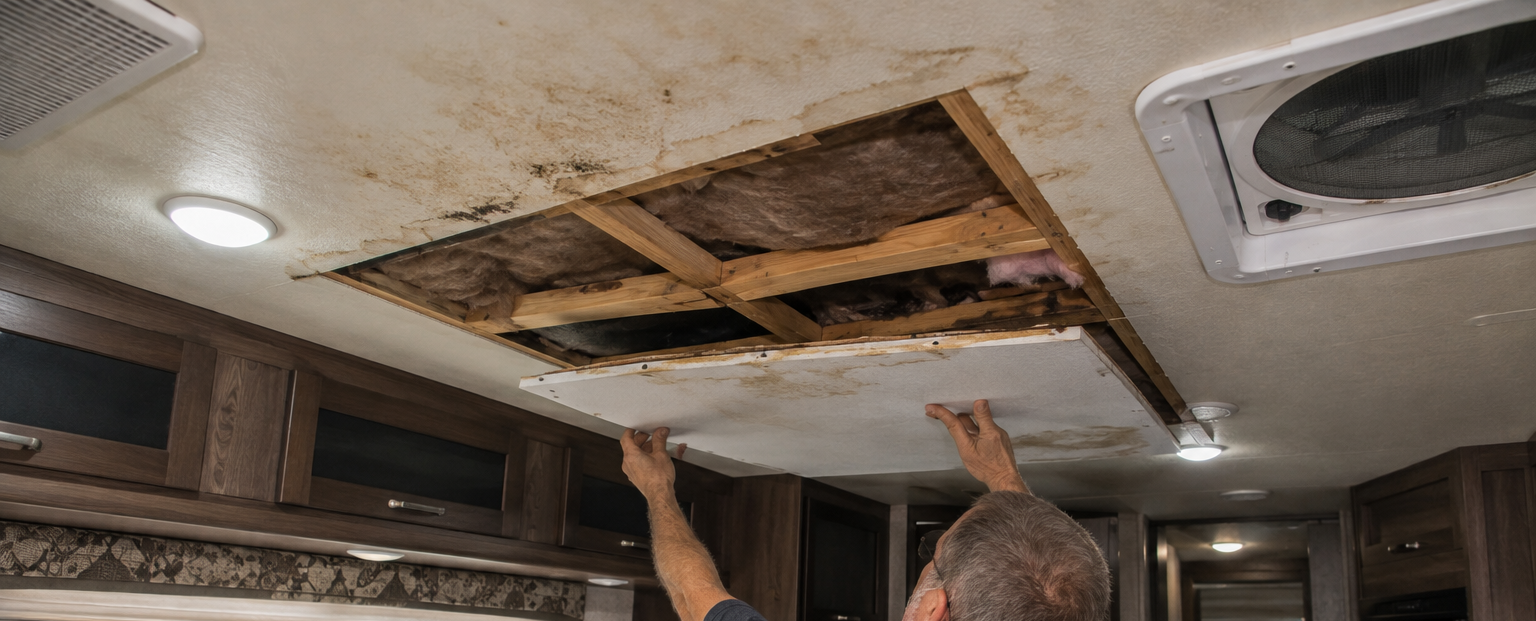
INTERIOR
Ceiling and Interior Water Damage Repair
Once the roof is watertight, we address what the leak left behind, including stained ceiling panels, damp insulation, and swollen trim. Repairing the inside without fixing the outside first simply repeats the whole job later.
Common Questions
FREQUENTLY ASKED QUESTIONS.
Replacement raises bigger questions than resealing does, so here are the ones owners in Branch County, MI ask us most often before committing to work of this size.
How do I know if my RV roof needs to be replaced?
Soft or spongy areas underfoot, sagging ceiling panels, seams that keep reopening after resealing, widespread cracking, and repeated interior stains all point to replacement. Once the decking has gone soft, more sealant is no longer solving anything at all.
How long does an RV roof replacement take?
The timeline depends on the rig, the material, and how much decking turns out to be damaged, so we set a date once the roof is open. Meier RV Repair LLC has made that call in Coldwater, MI for 10 years.
What is the average lifespan of an RV roof?
Roughly 10 to 15 years for EPDM rubber, 15 to 20 for TPO, and 20 or more for fiberglass and PVC when they are properly maintained. Sealant upkeep and storage conditions matter more here than the material choice alone does.
What are the signs of water damage under an RV roof?
Look for ceiling discoloration, bubbling wall panels, a persistent musty odor, spongy floors near the walls, and trim that no longer sits flat. Any one of those means water has been inside the structure for months rather than days.
Can rotted plywood under an RV roof be repaired?
Small isolated areas can be cut out and patched neatly into the surrounding roof sheeting. Widespread rot means replacing whole panels, since compromised plywood will not hold fasteners or safely carry the weight of a rooftop air conditioner.
Is it better to repair or replace an RV roof?
Repair makes sense when the membrane is sound and the damage is local. Replace when the substrate is soft, the membrane is failing across the whole surface, or you have already resealed the same seams several times over.
What is the difference between EPDM and TPO?
EPDM is a rubber membrane that oxidizes to a chalky finish and typically lasts 10 to 15 years. TPO is a stiffer, more puncture resistant thermoplastic with a textured walkable surface and a noticeably longer expected service life.
How do you find a hidden leak in an RV roof?
We combine visual inspection with tapping for soft spots, controlled water testing, and pressurized air testing with a soapy solution around the seals. That last method, used on every Meier RV Repair LLC job in Coldwater, MI, finds hidden openings.
HOW WE WORK
FROM TEAR-OFF TO FINAL SEAL, HERE IS HOW.
STEP 01
Assess the roof and the interior
We inspect the membrane, probe for soft decking, and look inside for stains, sagging, and damp insulation. That combined picture determines whether you need a replacement or a thorough reseal instead.
STEP 02
Quote the known scope in writing
You receive a written estimate covering removal, membrane, expected decking work, and reinstallation of every rooftop component. We also tell you plainly what we cannot see yet and how that would be handled.
STEP 03
Strip the roof completely
Rooftop components come off, the old membrane and adhesive are removed, and the substrate is exposed across the full surface. Nothing is judged from the ground once the rig is in the shop.
STEP 04
Repair the substrate
Damaged sheeting is cut back to sound wood and replaced, fasteners are reset into the rafters, and the surface is leveled. We photograph what came out and call you before any change to the agreed scope.
STEP 05
Install the new membrane
The membrane is bonded with the adhesive its manufacturer specifies, then worked out flat so no air or wrinkles remain. Seams and edges at the caps and rails get particular attention, because that is where failure starts.
STEP 06
Reset, seal, and water test
Every component goes back with new gaskets and butyl, then the whole roof is sealed and tested with water before it leaves. You get photographs from each stage along with the paperwork.
GET YOUR REPAIR ESTIMATE
STOP PATCHING A ROOF THAT IS ASKING TO BE REPLACED.
Tell us the year, make, and what you are seeing inside through our contact page. We will explain what an inspection involves, what replacement would cover on your rig, and when the shop can take it.
WHAT YOUR REPLACEMENT COVERS:
✓ Full removal of the failed membrane
✓ Honest assessment of the decking underneath
✓ Rotted sheeting replaced, not concealed
✓ EPDM or TPO installed to manufacturer specification
✓ All rooftop components reset with new gaskets
✓ Water tested and photographed before pickup