Where RV Water Leaks Really Start and How to Find Them
September 30, 2026
QUICK ANSWER: Most RV water leaks start at a roof penetration or a seam, not in the open middle of the membrane, and the water then runs along framing before it drips somewhere far from the opening. The real RV water leak source is usually a cracked bead of sealant around a vent, skylight, or air conditioner, a tired slide-out seal, a window or marker light gasket, or a loose plumbing fitting inside a cabinet. Finding it means tracing the water back uphill with a careful roof inspection, a check for soft spots and stains, a moisture meter, and a slow hose test rather than sealing over the first wet mark you see.
You notice a brown ring on the ceiling above the dinette, or the carpet in one corner is damp after a rain, and the natural move is to look straight up and seal whatever sits directly overhead. That is almost always the wrong spot. Water does not fall straight down inside an RV. It finds an opening somewhere on the roof or the sidewall, runs along a truss or down inside a wall cavity, and shows up a foot or two from where it actually got in. Chase the stain and you seal a dry patch of roof while the leak keeps working.
An RV shell is a thin skin stretched over wood and foam, and it is drilled through in dozens of places for the things that make it livable. Every one of those holes is filled with sealant or a gasket, and every one is a spot where water can get past. The membrane on top is barely thicker than a dime, and the plywood under it soaks up moisture and stays wet. So the question that matters is not whether your rig will develop a leak, but where, and how early you catch it. Knowing the usual entry points is what turns a mystery drip into a repair you can actually find.
The Seams and Sealant Fail Before the Membrane Does
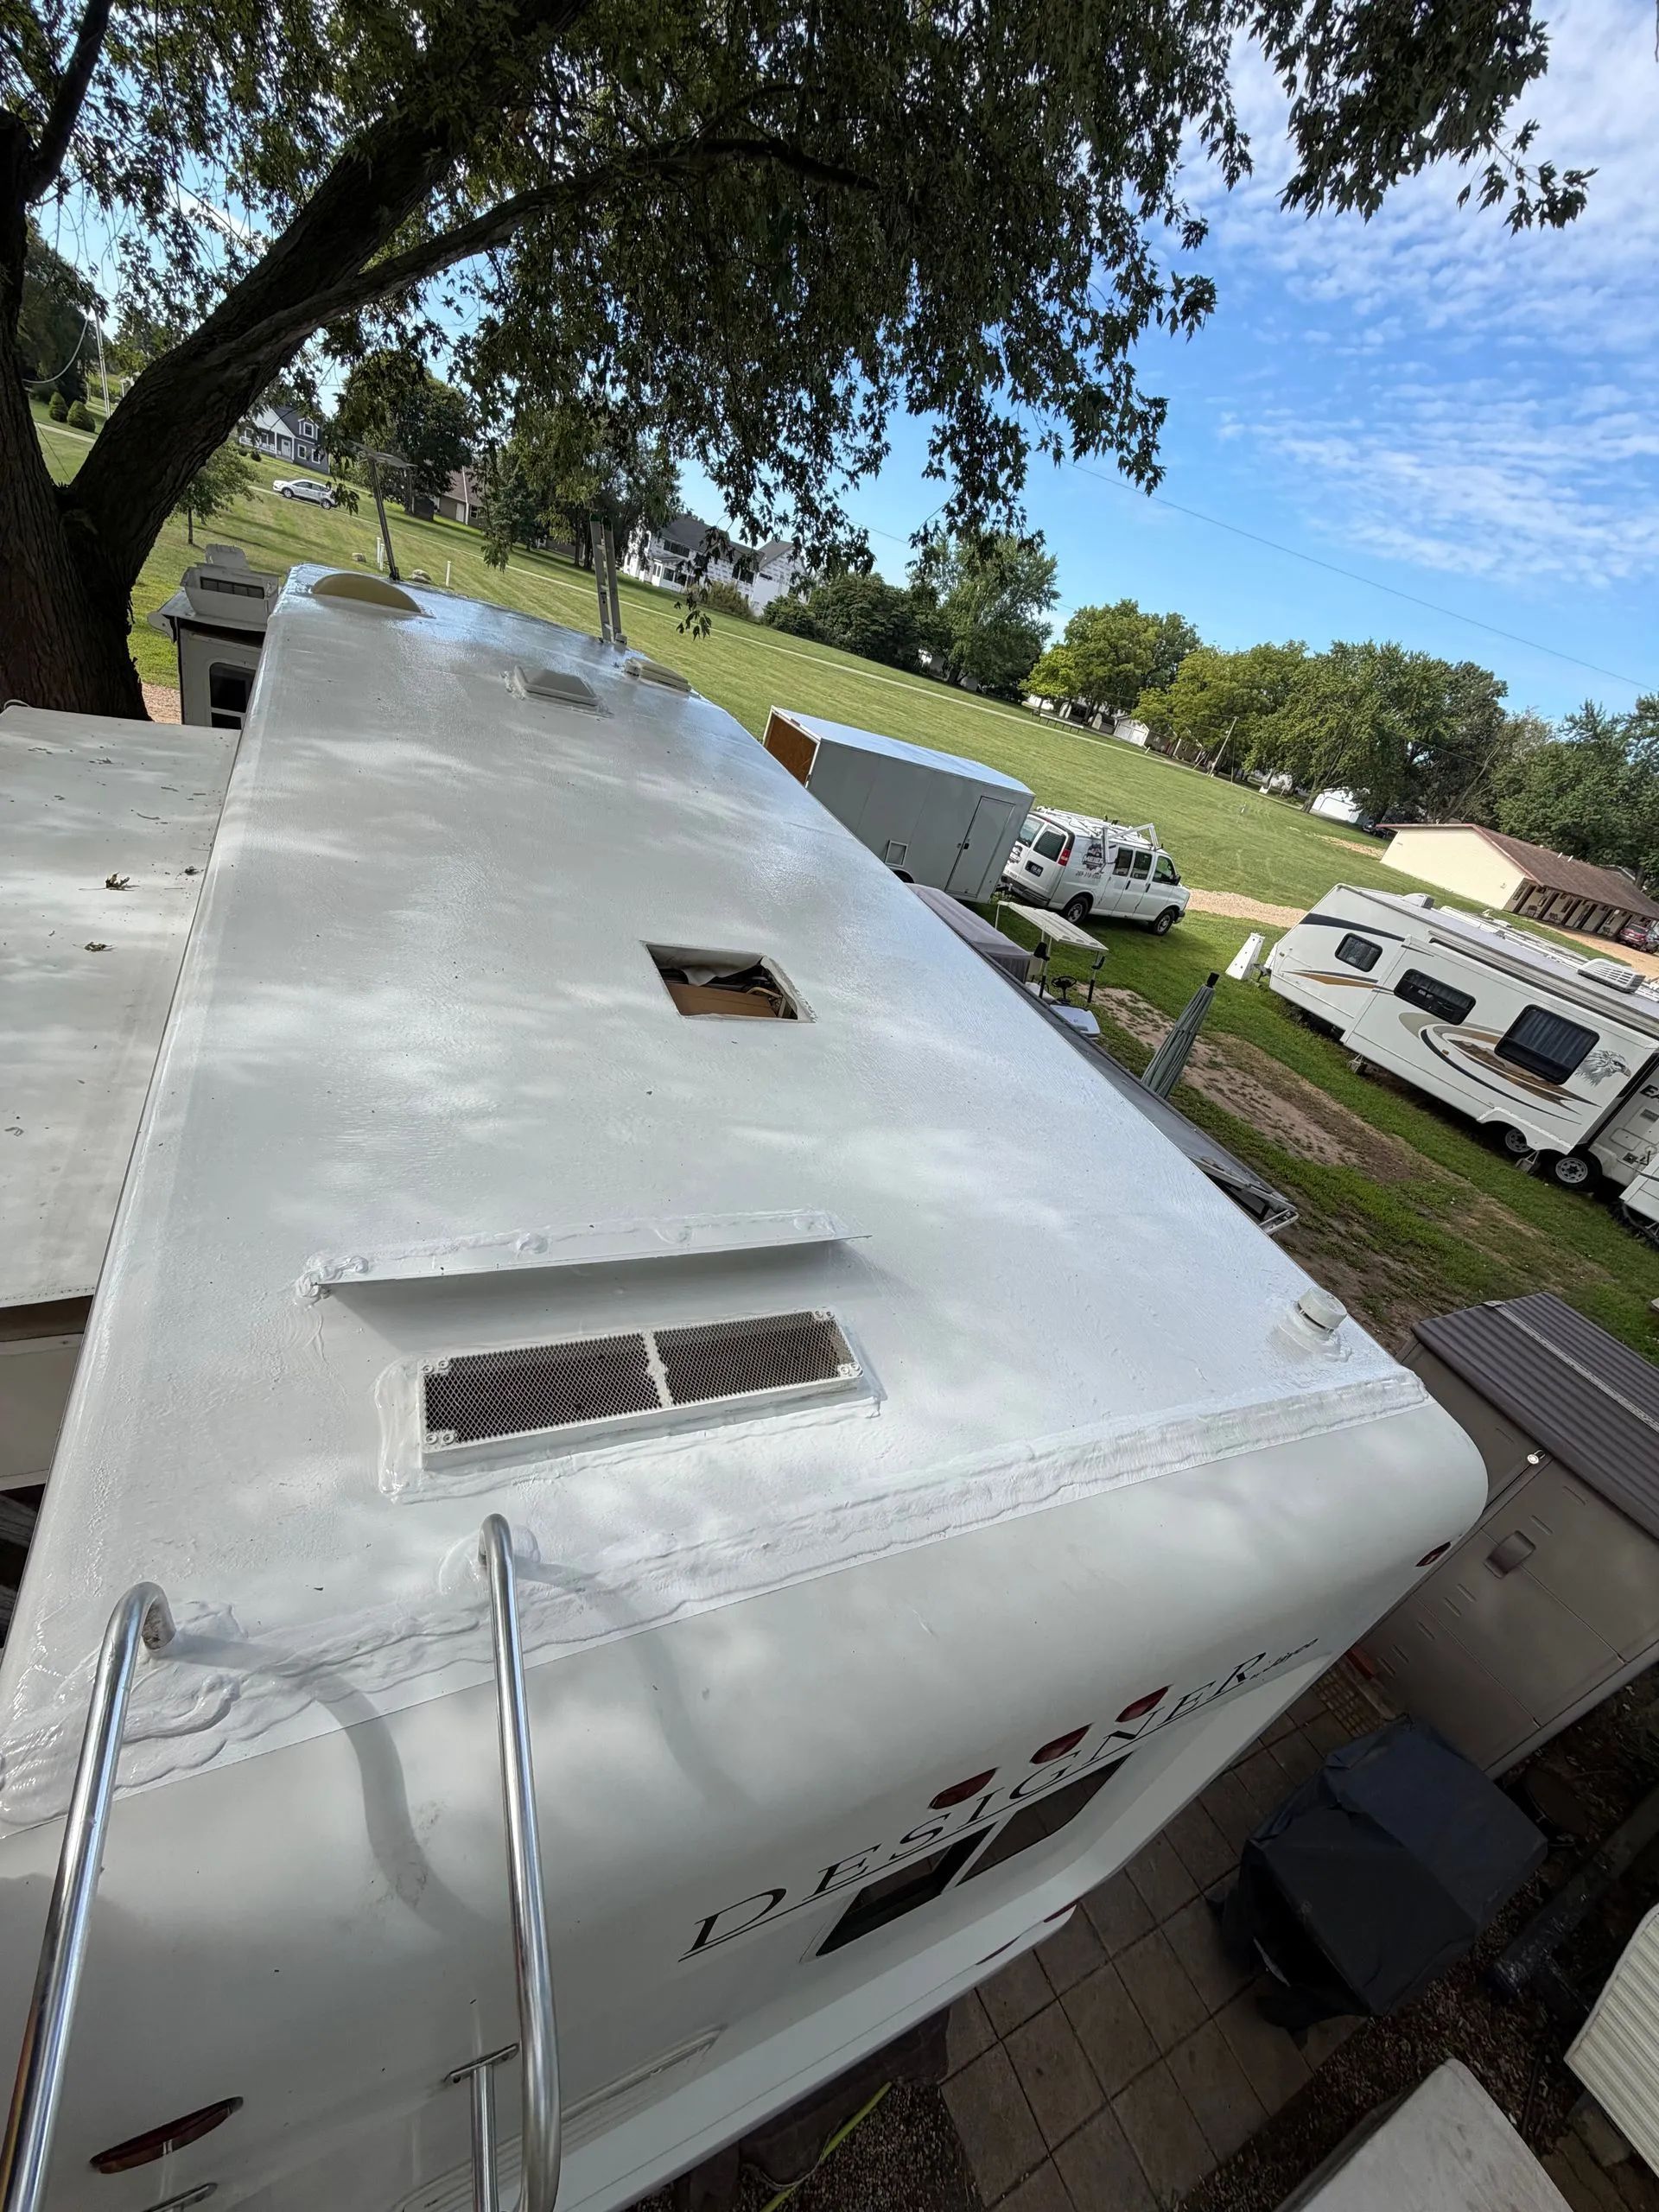
Start where two things meet. Water almost never comes through the open field of a healthy roof. It enters at the interruptions: the long seams where the membrane meets the front and rear caps, the termination rails down both sides, and every bead of lap sealant holding those joints closed. Sealant is the part that ages first. It chalks under sun, shrinks as it dries out, and pulls away from the flange it was bonded to, opening a hairline gap you would have to be standing on the roof to see. Once that gap is there, every rain pushes a little water underneath, and the decking below has no way to dry.
This part of Michigan is hard on sealant in particular. A rig parked in Branch County crosses freezing and thaws again more than forty times across a single winter, and each swing works on any crack that has already started. Water seeps into the opening, freezes and expands, widens the gap, then melts and runs deeper. Repeat that dozens of times and a bead that looked fine in October is split open by April. Summer sun chalks the surface, and months of snow load press down on the seams. This is why so many owners find a fresh stain right after storage season, not during the trips that supposedly caused it.
The Penetrations Owners Never Climb Up to See
Every hole in the roof is a candidate. Count the things poking through your roof sometime: roof vents and fan housings, the skylight over the shower, the air conditioner, the refrigerator vent, the antenna base, solar mounts, and the ladder brackets. Each one is a cutout in the membrane held down with screws and covered in sealant, and each screw head backs out a fraction as the rig flexes down the highway. A vent flange with a cracked bead lets water straight onto the decking. A brittle skylight dome splits around its mounting frame where nobody looks.
The air conditioner is its own case. The rooftop unit seals to the roof with a foam gasket, and that gasket flattens and hardens over the years until it no longer presses tight. Water then tracks down the duct opening and appears at the ceiling right beside the unit, which owners almost always blame on a roof seam nearby. It pays to check the gasket before you reach for a tube of sealant on the seams around it.
TIP: Walk your roof gently a few times a season and press a thumb along every seam and around each vent, skylight, and the air conditioner. Sealant that has cracked, chalked, shrunk back from a flange, or lifted at the edge is telling you where water is getting in, and catching it there is far easier than tracing a stain later.
Slide-Outs Move, So Their Seals Wear Out
A slide is a hole in the wall that opens and closes. Every time a slide-out runs in or out, its wiper and bulb seals drag across the opening, and those seals take a beating a fixed wall never sees. They compress, crack, and lose their spring over time, and the top seal is the one that matters most because water sits on the slide roof and runs toward the coach. Many slide roofs are built with a slight slope back toward the RV rather than away from it, so any gap in the top seal feeds water straight into the floor of the slide and the cabinetry around it. A spongy slide-out floor usually traces back to a seal that stopped sealing a season or two earlier.
The awning-style topper over a slide helps, but it is not a fix on its own. Debris collects in the seal channel, leaves and grit hold moisture against the rubber, and a seal that is dry and cracked will pass water even when the slide looks closed. This is a spot to check with the room both in and out, because a gap that hides when the slide is retracted can open up when it is extended.
Picking a mount that can handle the spot
Windows, Marker Lights, and Body Seams Leak From the Side
Water does not only come from above. The sidewalls are full of openings too. Window frames are set into the wall with butyl tape and trimmed with sealant, and both give up over the years, letting water wick into the wall behind the frame. Clearance and marker lights are screwed through the exterior skin with a gasket behind each one, and those gaskets dry out and crack. The same goes for the corner moldings, the entry door frame, the exterior service doors, and the trim strips running down each side. Any of them can pass water into the wall cavity, where it travels down out of sight and rots the framing long before a stain reaches the inside.
Because sidewall leaks run down inside the wall, they are some of the hardest to trace. A window that leaks at its top corner can soak the wall all the way to the floor, and the only sign inside might be a soft spot near the baseboard or a faint musty smell. Delamination, where the outer skin bubbles or separates from the wall behind it, is often the outward sign that water has been living in that wall for a while.
Picking a mount that can handle the spot
Plumbing Fittings Leak Where You Store Things
Not every leak comes from the weather. The fresh and waste plumbing inside your rig is its own set of leak points, and these have nothing to do with the roof. Fittings loosen from road vibration, a connection under the kitchen sink weeps, the water pump joints seep, or a line that was not fully drained splits over winter when the water inside it freezes and expands. These show up as damp cabinet floors, a wet spot under the bathroom, or a water pump that cycles on its own when no tap is open. A freeze-split line is the classic Michigan version, and it usually announces itself the first time the pump runs in spring.
The tell that separates a plumbing leak from a roof leak is where and when it appears. Roof and sidewall leaks track to rain and show up high or inside the walls. Plumbing leaks show up low, near the fixtures, and often when the system is under pressure regardless of the weather outside.
How to Actually Find the Source
Trace the water back uphill. Finding a leak is detective work, and it starts with reading the clues inside. A ceiling stain, a soft or spongy spot underfoot on the roof, bubbled paneling, peeling covering near a window, or a musty smell that will not air out all point toward an area, even if the exact opening sits a foot or two away. Map every symptom before climbing up, then get on the roof and inspect every seam, flange, and fastener in that zone, looking for sealant that has cracked, lifted, or pulled back.
Then bring in the tools that read what you cannot see. A moisture meter pressed against the interior surfaces shows how wet the wood is behind the panel, which helps map how far the water has spread even where nothing shows. It will not prove a spot has delaminated, but it points toward the wettest area, which is usually nearest the entry. A slow hose test is the classic confirmation: with someone watching inside, run a gentle stream of water over one suspected area at a time, starting low and working up, waiting several minutes at each spot so water has time to travel and appear inside. Wetting the whole roof at once tells you nothing, because you cannot tell which area let the water in. Shops also run an air pressure test, sealing the coach and pushing low-pressure air inside while brushing soapy water over the outside seams so the openings bubble up, which finds gaps a hose can miss.
WARNING: Do not seal over a stain or a soft area before you have found the actual opening. Fresh sealant or a coating laid over trapped moisture holds the water against the wood and lets the rot keep spreading in the dark, and the leak comes back worse because the real source was never closed. Find the entry point first, then seal it.
Frequently Asked Questions
Where do most RV water leaks start?
Most RV leaks start at roof penetrations or seams, not the open membrane. Vents, skylights, air conditioner gaskets, and cap sealant fail first. Slide-out seals, window gaskets, and interior plumbing fittings account for the rest.
Why is the water stain not under the leak?
Water runs before it drips. Once past the roof or window, it follows least resistance along framing or inside walls, then falls where something stops it. That point can be several feet from the opening.
Can I find an RV leak with a moisture meter?
A moisture meter is one tool, not the answer. It shows how wet material is and points toward the wettest area. Pair it with roof inspection and a hose test to find the exact opening.
How do I do a hose test on my RV?
Work one small area at a time with someone watching inside. Run a gentle water stream over one spot, starting low and moving up. Wait minutes at each area so water has time to travel.
Finding the Leak Before Wood Damage Spreads
RV water leaks are not mysteries once you know where to look. The stain on your ceiling or soft spot on the floor is almost never where water actually entered. Understanding that water follows the path of least resistance along framing lets you trace backward and find the real opening. Sealant cracks, gaskets fail, and penetrations deteriorate long before the membrane itself breaks down. Catching these entry points early prevents wood rot that would turn a simple repair into expensive restoration work.
Over 10
years in Branch County, MI, Meier RV Repair LLC
has traced thousands of leaks to their real sources and sealed them before wood suffered permanent damage. Most owners are surprised the spot they targeted is often wrong, with the real opening nearby or several feet away. The moisture meter, roof inspection, and patient hose test reveal what guessing never could. Understanding how water travels through an RV transforms you from chasing phantom leaks to finding and fixing the actual problem.